Microsoft Finally Makes Mailbox Auditing Happen for Exchange Online
Exchange Brings Mailbox Auditing to the Masses
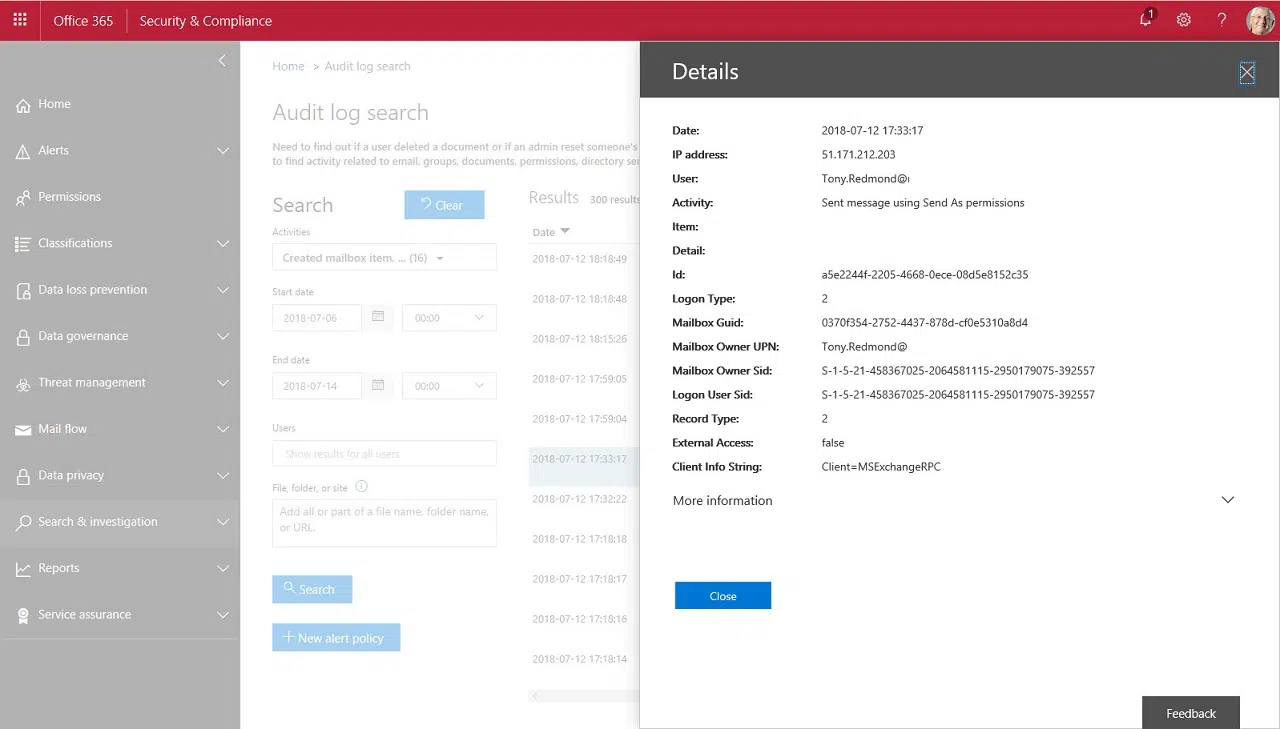
The news that Microsoft has belatedly decided to enable auditing for all Exchange Online mailboxes in Office 365 commercial tenants came as a pleasant surprise. I’ve been complaining about this omission for years, and commented as recently as July 10 that making sure that auditing is enabled for all user and shared mailboxes is an important step in combating Business Email Compromise attacks.
Microsoft will take until the end of 2018 to ensure full coverage of mailboxes in all tenants. When that happens, Exchange will be at par with SharePoint Online when it comes to gathering audit information about user activities. In both cases, the audit events are normalized and flow through to the Office 365 audit log.
The Wrong Call
I never understood why Microsoft was so reluctant to enable mailbox auditing by default. Perhaps it was a throwback to the on-premises world when organizations made their own rules up about when auditing should occur, and a desire to respect the same right to choose in the cloud.
Any such justification was wrong. And it’s been wrong since the Office 365 audit log appeared in 2015 to bring sanity to the various ways that workloads generated and reported audit data. By comparison, SharePoint, the other core Office 365 workload, stepped up and made sure that user and administrative events are sent to the Office 365 audit log as quickly as possible. SharePoint might be a tad verbose at times, and some of its audit events are a little screwy and need to be filtered out, but generally SharePoint is a good citizen when it comes to auditing.
The DIY Solution
Up to now, if you want to be sure that Exchange Online gathers audit events for all mailboxes, you must run regular jobs to detect mailboxes that are not enabled and then twiddle the necessary settings. A very simple PowerShell script like this does the job:
Get-Mailbox -Filter {AuditEnabled -eq $False} -RecipientTypeDetails UserMailbox, SharedMailbox | Set-Mailbox -AuditEnabled $True –AuditDelegate Create, FolderBind, SendAs, SendOnBehalf, SoftDelete, HardDelete, Update, Move, MoveToDeletedItems, UpdateFolderPermissions
But who can remember to check that the job has been run on a regular basis? It’s much better when a workload takes care of basic housekeeping
Mailbox Auditing Enabled by Default
The new approach being introduced into Office 365 replaces mailbox-specific settings with a tenant-wide configuration setting called AuditDisabled to control mailbox auditing. To check the setting, use this command:
Get-OrganizationConfig | Select AuditDisabled

AuditDisabled
-------------
False
By default, the AuditDisabled setting is $False, meaning that Exchange automatically audits a set of default owner, delegate, and administrator actions for all mailboxes, even if the AuditEnabled setting for a mailbox is $False. The actions include mailbox logons and item deletions. Microsoft has updated the set of available actions recently to include things like changing permissions. As they add new actions, Microsoft might update the default set, in which case Exchange will start to capture details of those actions for all mailboxes.
After a tenant is enabled for mailbox auditing by default, you can still change the set of audit events captured for specific mailbox by running the Set-Mailbox cmdlet. The downside is that if Microsoft chooses to update the default set of audit actions in the future, you must remember to update the custom audit settings for those mailboxes.
Opting Out
To opt out of default mailbox auditing and stop Exchange capturing any mailbox audit data for the Office 365 audit log, change the setting to $True.
Set-OrganizationConfig -AuditDisabled $True
Mailbox Auditing Bypass
When default auditing is in place, if you want to exclude mailboxes from auditing, you use the Set-MailboxAuditBypassAssociation cmdlet. For example:
Set-MailboxAuditBypassAssociation -Identity "Kim Akers" -AuditBypassEnabled $True
The Set-MailboxAuditBypassAssociation cmdlet was designed to stop audit events from service mailboxes flooding the audit log. This might have been acceptable in an on-premises environment when the cmdlet first appeared in Exchange 2010. Today, it is not recommended to exclude any Exchange Online mailbox from auditing in this manner. Here’s some reasons why.
First, the tools available to search the audit log are much better inside Office 365 and a few extra audit events will make no difference. Second, when an account is excluded from mailbox auditing, Exchange does not capture events for any mailbox the account accesses. An account could therefore open a shared mailbox and remove items in that mailbox without the recording of any audit data. Last, if you experience something like a Business Email Compromise attack, you need as much audit data as possible to collect to understand how the attack develops and what was its impact.
Checking Mailbox Associations
To see if any mailbox auditing bypasses are in place, run the Get-MailboxAuditBypassAssociation cmdlet and filter for accounts with a bypass. It is quite normal to have many mailbox association records returned, including records for guest user accounts and system accounts as these are created when new accounts are created in the tenant. For example, this command finds accounts with mailbox audit bypass enabled.
Get-MailboxAuditBypassAssociation | ? {$_.AuditBypassEnabled -eq $True} | Format-Table Name, WhenCreated, AuditBypassEnabled

Name      WhenCreated         AuditBypassEnabled
----      -----------         ------------------
Kim Akers 02/12/2014 15:20:42               True
To disable a mailbox audit bypass, run Set-MailboxAuditBypassAssociation:
Set-MailboxAuditBypassAssociation -Identity "Kim Akers" -AuditBypassEnabled $False
Auditing Isn’t a Silver Bullet
Enabling mailbox auditing by default is not a silver bullet to make Office 365 tenants more secure. But it is the kind of basic blocking and tackling that a tenant needs to understand what’s happening. If you want to be more secure, how about enabling multi-factor authentication more broadly inside your user community or start using Azure Information Protection to encrypt and protect messages and documents. All basic stuff if you want to resist the bad guys.
Follow Tony on Twitter @12Knocksinna.
Want to know more about how to manage Office 365? Find what you need to know in “Office 365 for IT Pros”, the most comprehensive eBook covering all aspects of Office 365. Available in PDF and EPUB formats (suitable for iBooks) or for Amazon Kindle.

Tony Redmond has written thousands of articles about Microsoft technology since 1996. He covers Office 365 and associated technologies for Petri.com and is also the lead author for the Office 365 for IT Pros eBook, updated monthly to keep pace with c...


