How to Configure an iPhone for Microsoft BPOS Exchange Online Email
One of the great things about Exchange Online and the Microsoft Business Productivity Online Suite is that it works seamlessly with nearly any Smartphone. This guide will show you how to connect your iPhone to BPOS.
How to Connect an iPhone to BPOS
The iPhone 3G, 3GS, or 4 can be used to connect to BPOS as long as it is running iOS 4.0.1 or newer. This procedure can also be used for the iPod Touch, with the same iOS requirements.
The iPhone only supports a single Exchange Account. If you already have configured your iPhone to connect to an Exchange server, then you’ll need to delete your old account settings before you can add your BPOS Exchange account.
Note that when you delete an Exchange account, any mail or data on your phone for that account will be removed.
To delete your old Exchange settings from your iPhone:
1. On your iPhone, touch the Settings icon, then go to Mail, Contacts, Calendars..
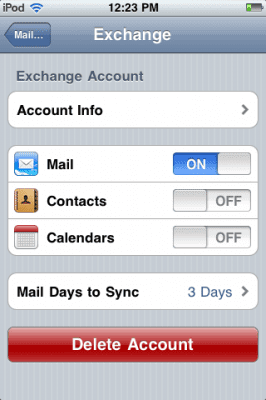
2. Touch the account that you wish to delete. This will open up the Exchange Account settings window.
3. Touch the Delete Account button. A confirmation box will pop-up – if you’re sure you with to proceed then touch the Delete Account button again to confirm.
To add a new Exchange connection to BPOS:
1. On your iPhone, touch the Settings icon, then go to Mail, Contacts, Calendars..
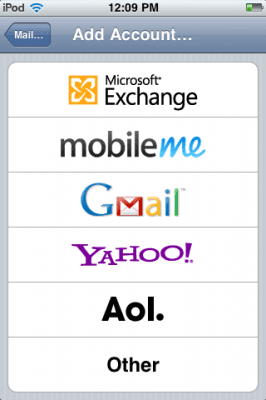
2. Choose Add Account.
3. From the Add Account screen, choose Microsoft Exchange.
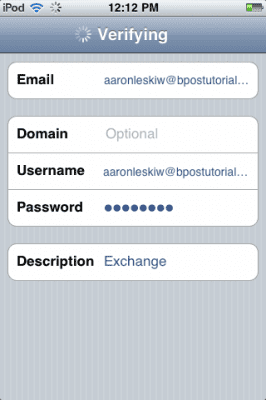
4. On the Exchange screen, touch the Email box, and enter your Email address, which will be something like [email protected]. In this example, it’s [email protected].
5. The Domain box can be left blank.
6. Next, touch the Username box, and enter your email address again.
7. Then, touch the Password box and enter your BPOS login password.
8. Enter a description in the Description box if you want, by default it should read “Exchange.”
9. Tap Next, and your iPhone should begin verifying your account details.
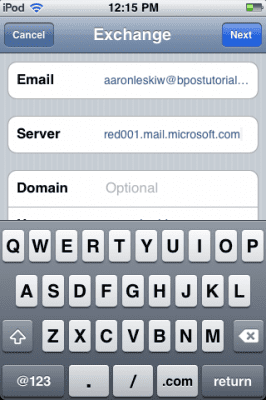
10. Once the iPhone accepts your account details, a Server box will appear. You’ll need to enter the mobile device URL for your region.
- For North America the URL is red001.mail.microsoftonline.com
- For Europe the URL is red002.mail.emea.microsoftonline.com
- For Asia the URL is red003.mail.apac.microsoftonline.com
A full list of URLs can be found here. Don’t enter the https:// prefix in the server field – just the server host name.
11. Touch Next, and your iPhone will begin verifying information. You may receive a message about Verifying Certificates – if so just click Accept.
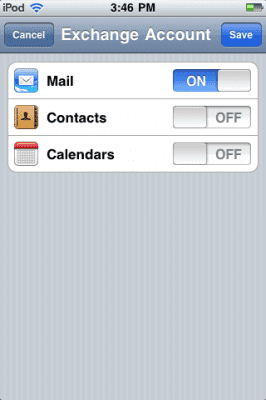
12. On the next screen, choose which information you’d like to synchronize to your phone – Mail, Contacts, or Calendars, or all three, then touch Save.
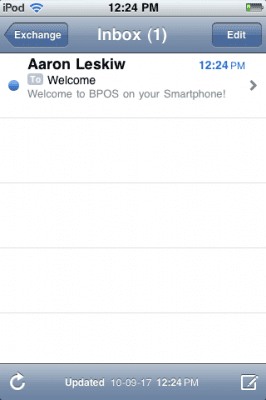
13. Exit the Settings panel, then touch the Mail icon to test it out. If you’ve entered your information correctly then you should be able to see your BPOS inbox. If so, then congratulations! You’ve successfully connected your iPhone to BPOS.


