How to Use Windows 10 Quick Assist to Give or Receive Remote Support
Quick Assist is an application in Windows 10 much like Team Viewer, and it provides a quick way to support remote users. While Remote Assistance, which was originally part of Windows XP, is still available in Windows 10, Quick Assist is a more flexible tool and easier to use. Remote Assistance can also be vulnerable to attack, so it’s something you might want to disable.
Provide Remote Support Using Quick Assist
Using Quick Assist is easy. Unlike some other remote support tools, everything works over standard Internet protocols, so it is firewall-friendly.
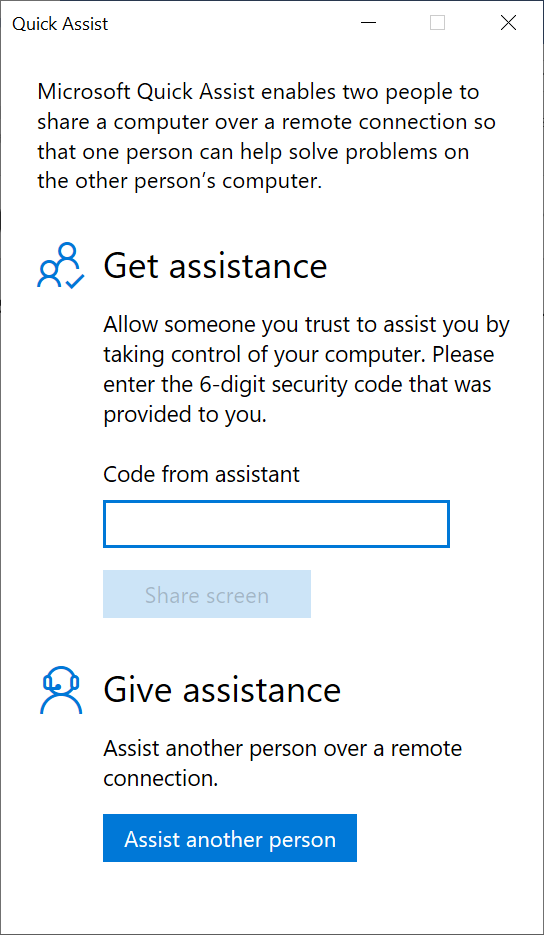
- To start Quick Assist, type Quick Assist in the search box in the bottom left of the taskbar and then click Quick Assist in the list of results. If you are providing support, click Assist another person. The person providing support should initiate the Quick Assist session.
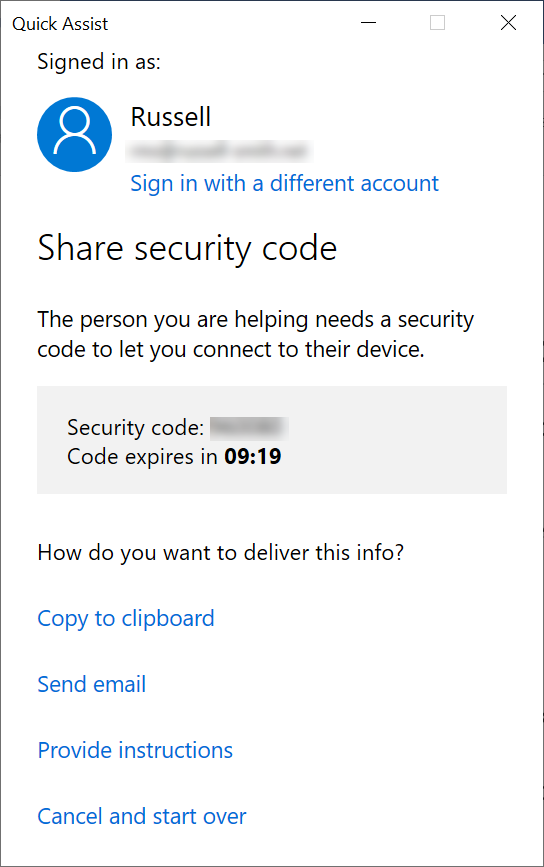
- Before you can help someone, you must sign in to Quick Assist using a Microsoft Account, or a work or school account. If you have an account connected to Windows or are logged in with an MSA account, Quick Assist will try to use that account. You can always change the account by clicking Sign in with a different account.
- A code will be generated which you must share with the remote user within 10 minutes. After that time, the code expires. You can either verbally share the code with the remote user or send it by email.
- Once you’ve shared the code, the remote user must enter it on the Quick Assist home screen and click Share screen.
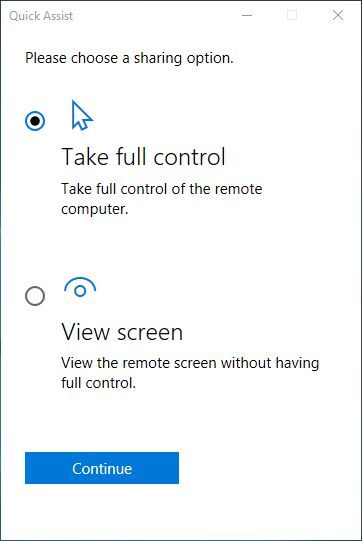
- The person providing support will then get the option to either Take full control or View screen. Select one of these options. ‘Take full control’ is the default option.
- Before the screen sharing session starts, the remote user must give permission by clicking Allow on the Share you screen
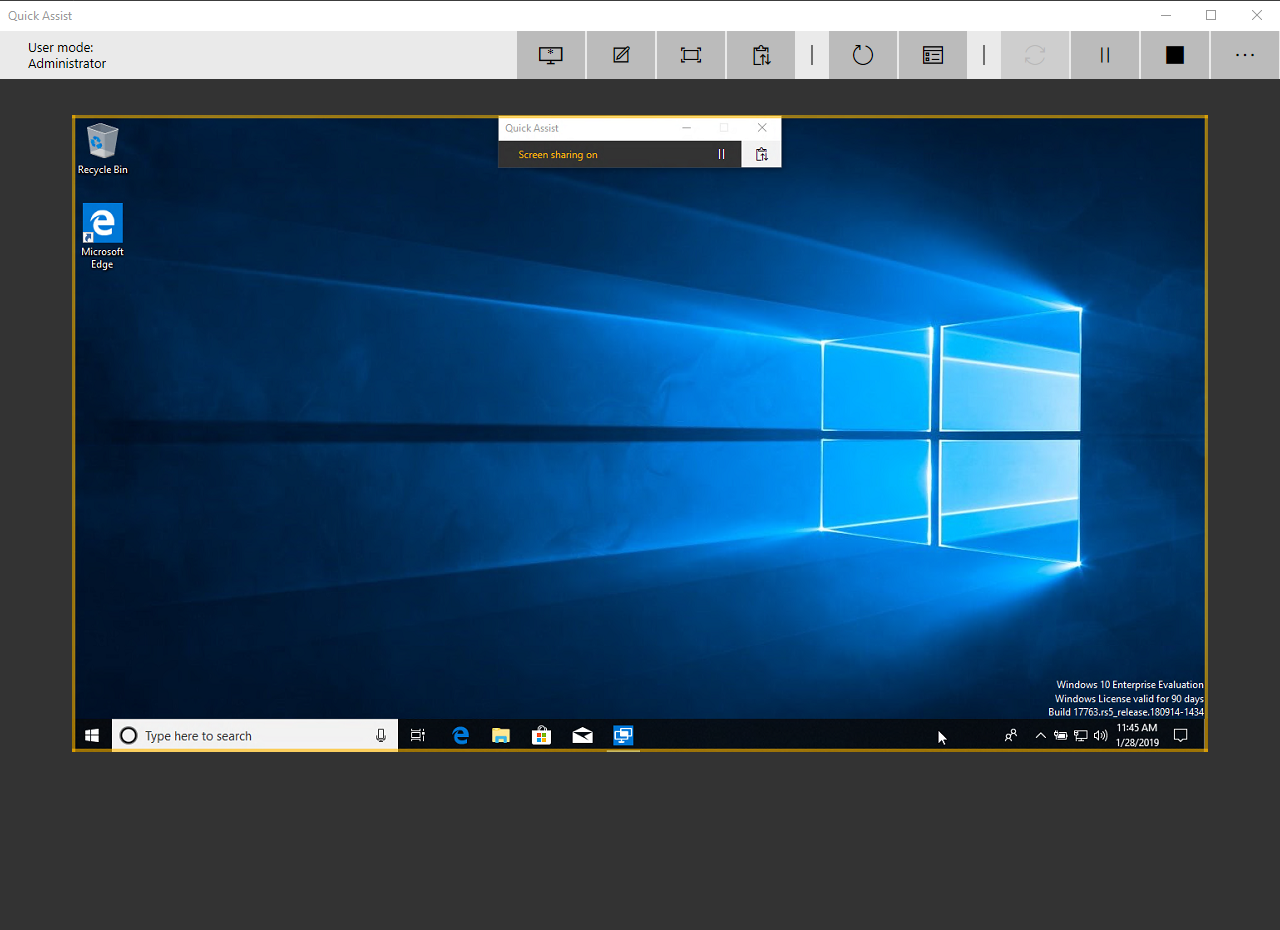
Once the screen sharing session has started, the person providing support will see the remote user’s desktop with a series of options along the top. From this point on, Quick Assist works much like any other remote support solution. You can pause and end the session using the buttons in the top right of Quick Assist. Other features include the ability to annotate the screen, exchange text messages with the remote user, restart the remote device, and call up Task Manager. Users can cancel requests to restart their device and end the screen sharing session at any time.

Quick Assist is a great tool for providing ad-hoc support to users in situations where there is no other mechanism set up. Establishing remote sessions can take a few seconds depending on the speed of the Internet connection and other factors but in general it works well enough for a free built-in tool. While users providing support need an MSA, or a work or school account to use Quick Assist, it isn’t a requirement for the user receiving support.


