


How to Use Snap and Snap Assist in Windows 10 Technical Preview
Windows 10 virtual desktops are maybe getting the lion’s share of media attention, but Snap and the new Snap Assist feature are potentially more useful. While I’m probably in a minority of people that find Windows Store apps useful on a Windows 8 notebook, lining them up side-by-side is much easier than trying to do the equivalent with Snap and desktop apps in Windows 8, mainly because it fails to do anything more than snap windows left or right, filling half the screen.
That’s better than nothing, but in real-world use, you’re more likely to arrange apps side-by-side, with one of them occupying more than its fair share of the screen real estate. As you continue working, you might decide that one app needs to be wider than the other, and so on. Although Windows 8’s Modern UI deals with this admirably, desktop Snap leaves users to fiddle around with the mouse to achieve the same results.
Using Snap in Windows 10
The easiest way to snap windows on the Windows 10 desktop is to use the keyboard shortcuts. Like in Windows 8, WIN + LEFT and WIN + RIGHT arrow key combos snap windows left and right, respectively.
Windows 10 adds two new keyboard shortcuts to Snap, WIN + DOWN and WIN + UP arrows, allowing windows to be snapped horizontally top and bottom, occupying the full width of the screen. If you continue pressing the key combination, you can also snap windows in quadrants, with up to four windows snapped simultaneously.
TIP: Windows Store apps currently can’t be snapped into quadrants.
As I mentioned in the introduction to this article, if you resize a snapped window, you can re-snap the remaining window to ensure it occupies any desktop space that was freed up. In my opinion, this is the most important improvement to Snap in Windows 10.
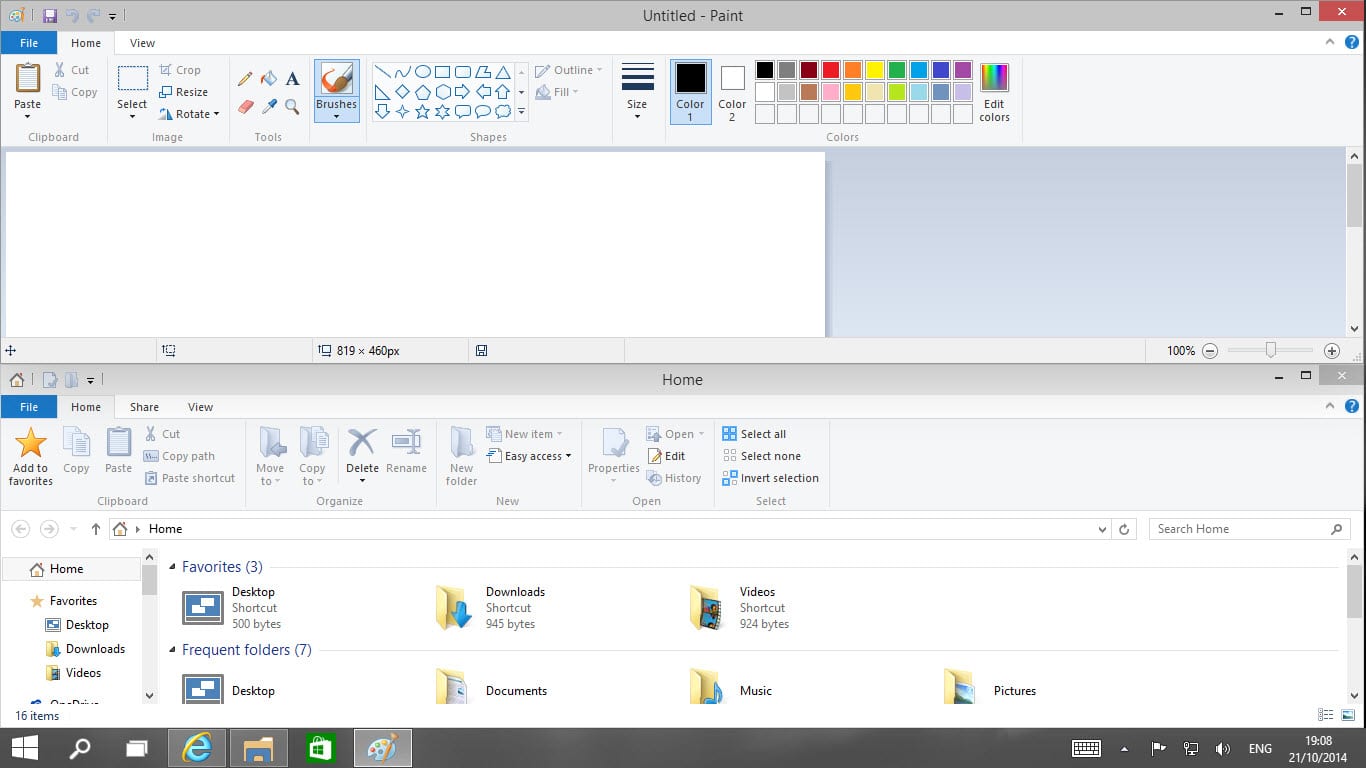
Snap with a mouse
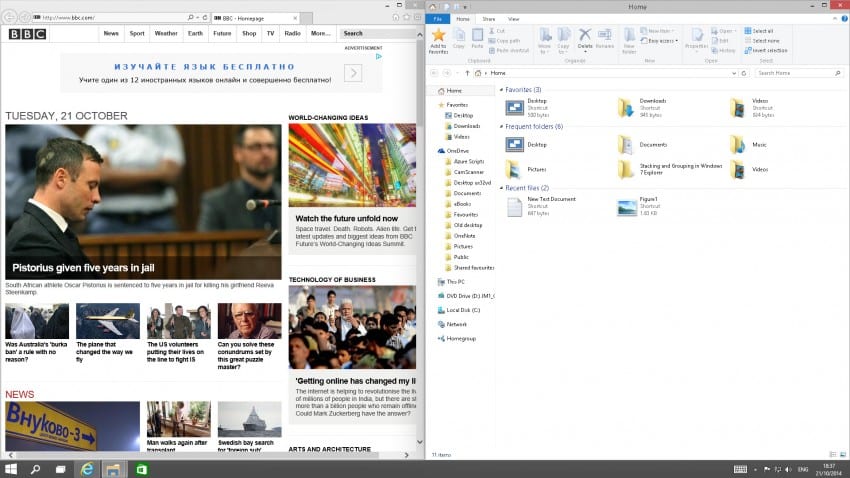
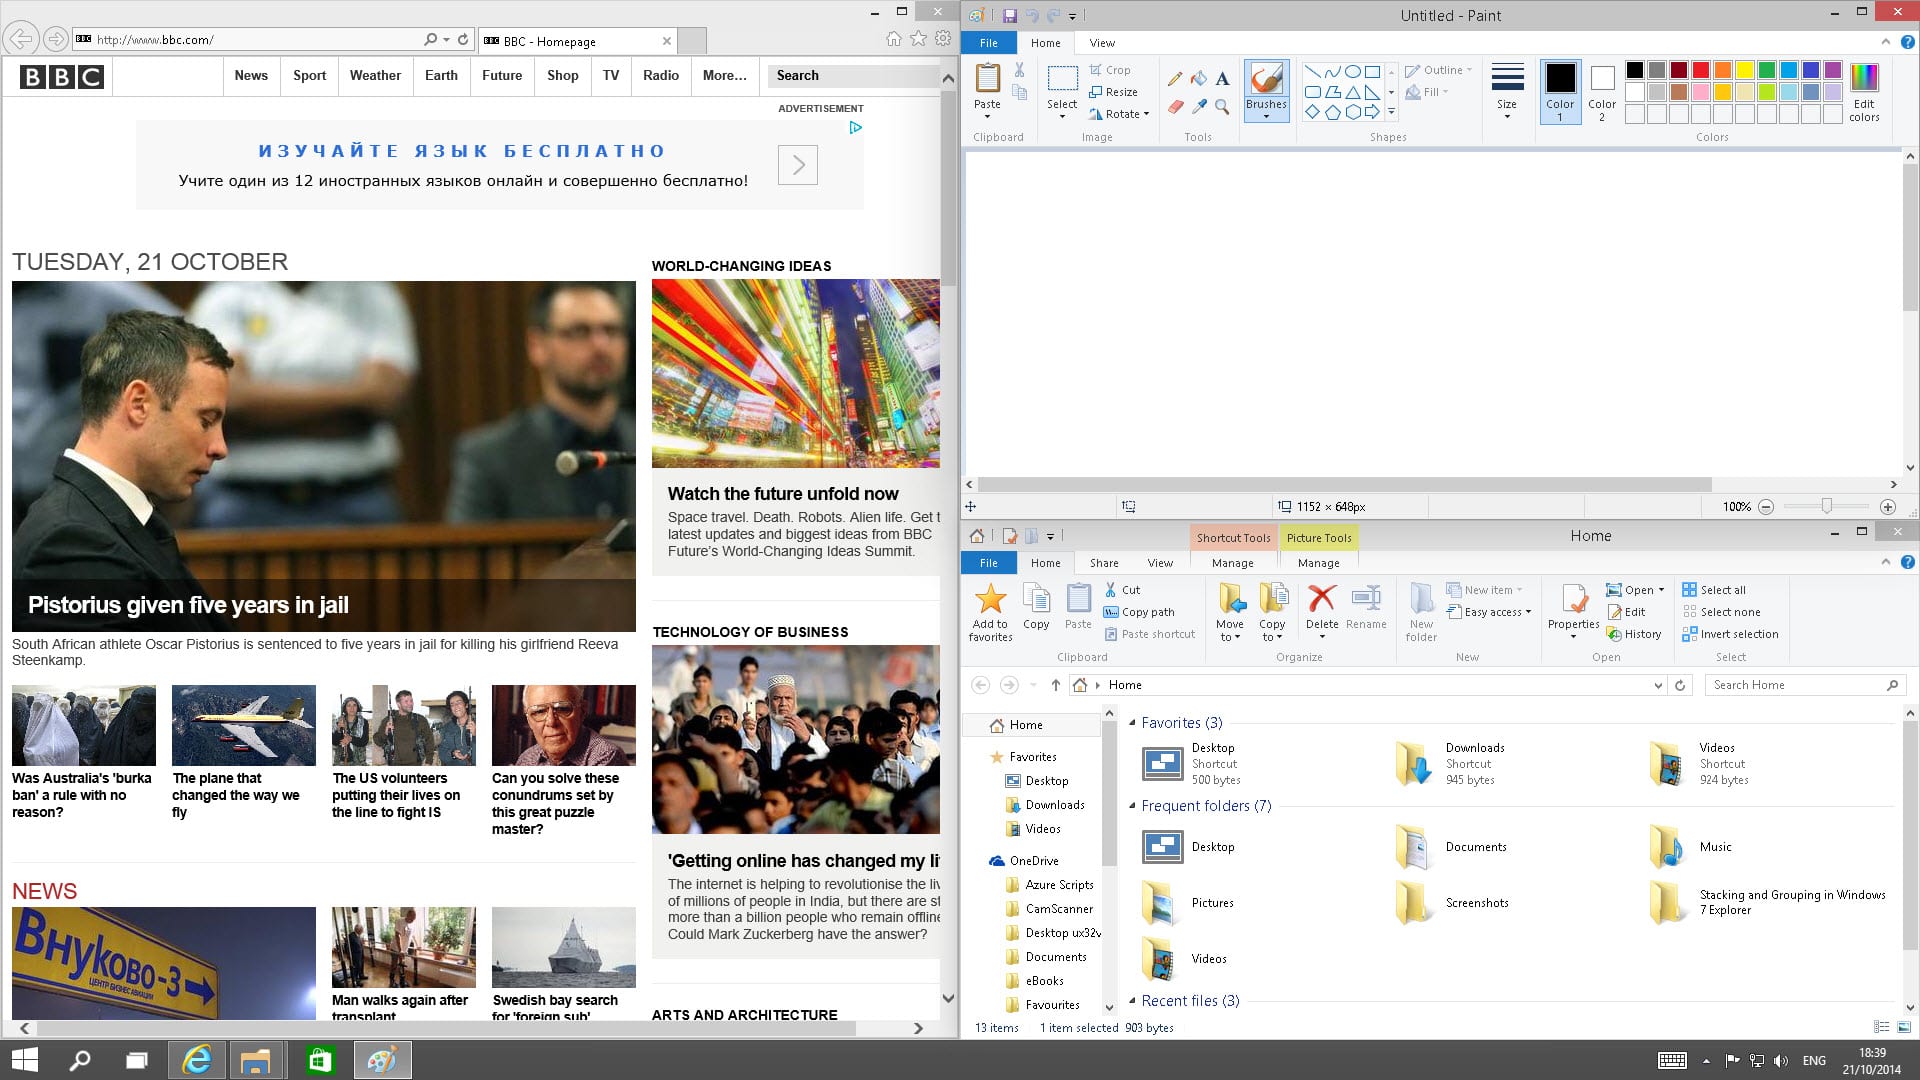
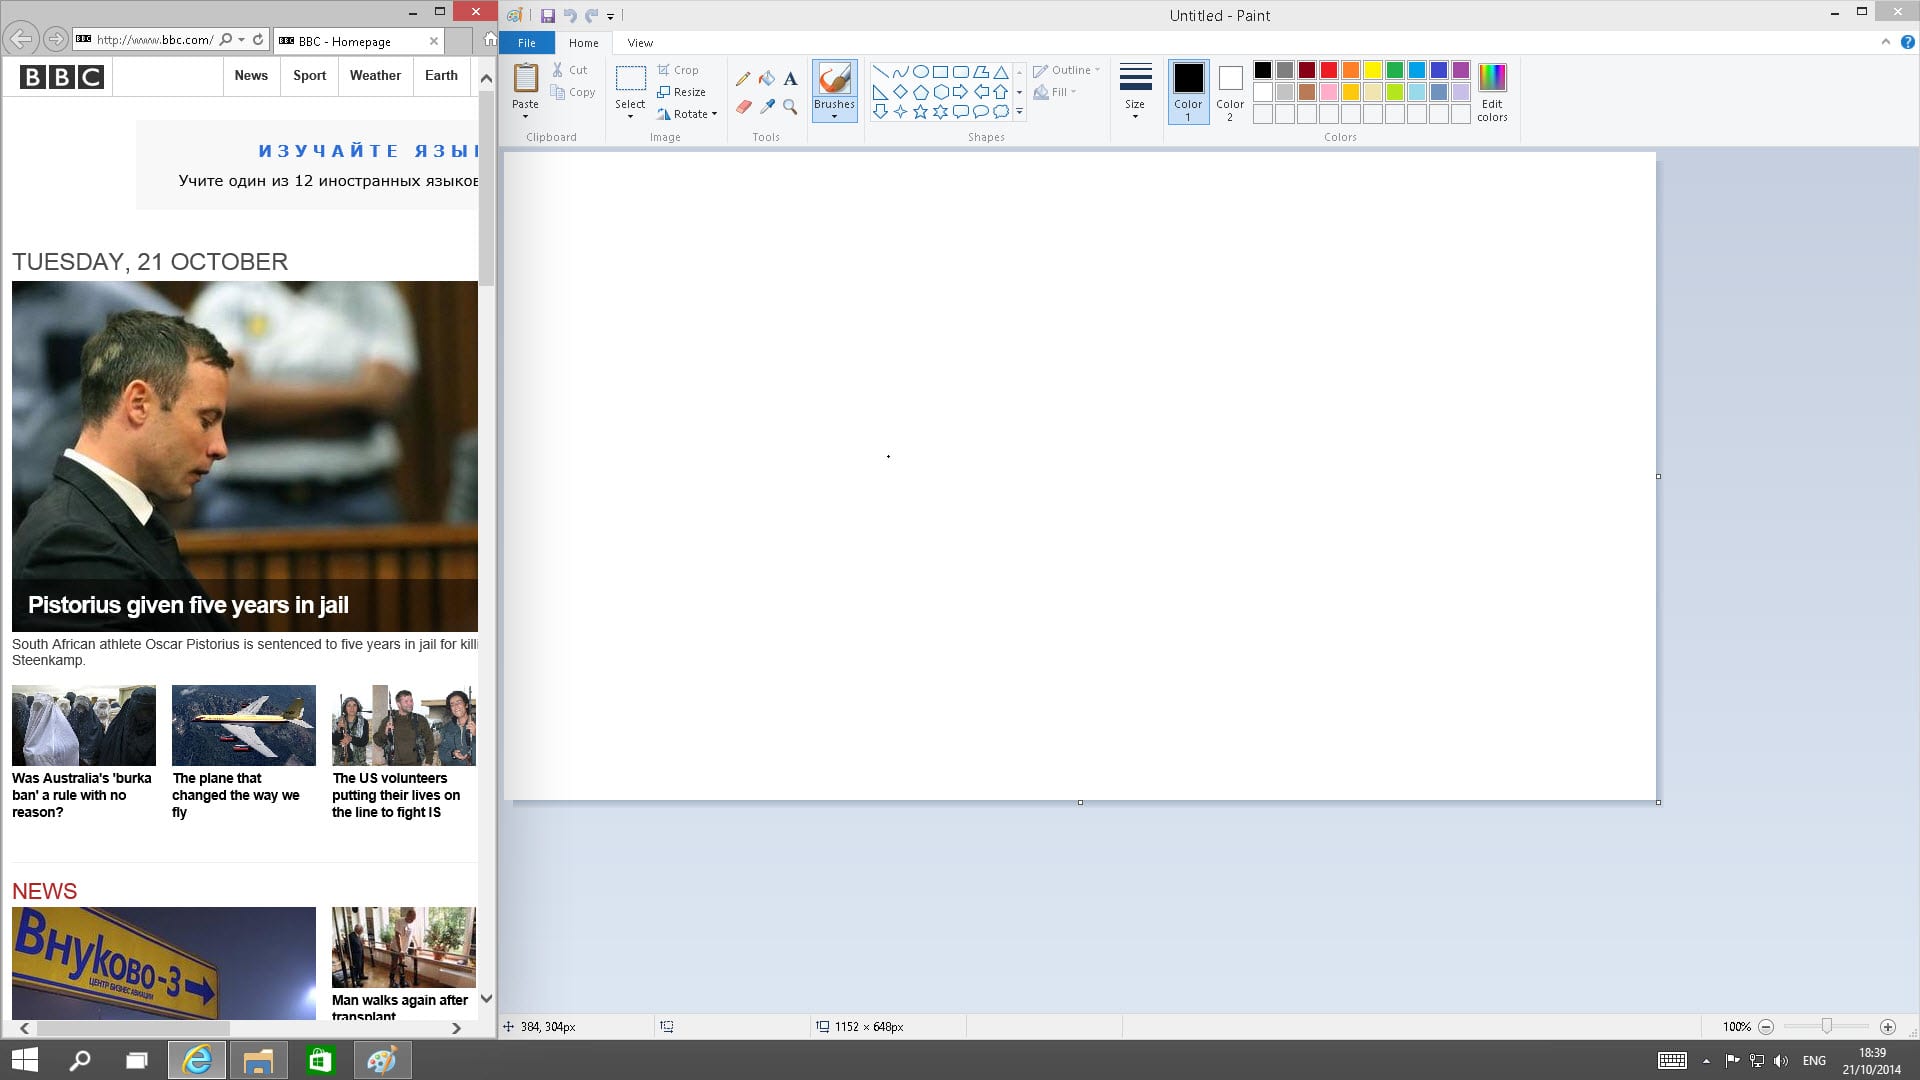
To snap windows using the mouse, drag a window to the top right corner of the desktop until the snap animation appears to create a top-right quadrant, and to the bottom left for a bottom-left quadrant, etc. As in Windows 8, dragging a window to the top center of the desktop maximizes the window, and to the left and right does exactly what you’d imagine: snaps the window vertically to occupy the full left or right half of the screen.
Snap Assist
The big new feature for Windows 10 Snap is Snap Assist. When you snap a window, if there are other apps running on the same desktop, Snap Assist will offer large Task view style previews of those apps, which you can then click to snap your chosen app into the remaining space, saving you having to locate and bring apps into focus.
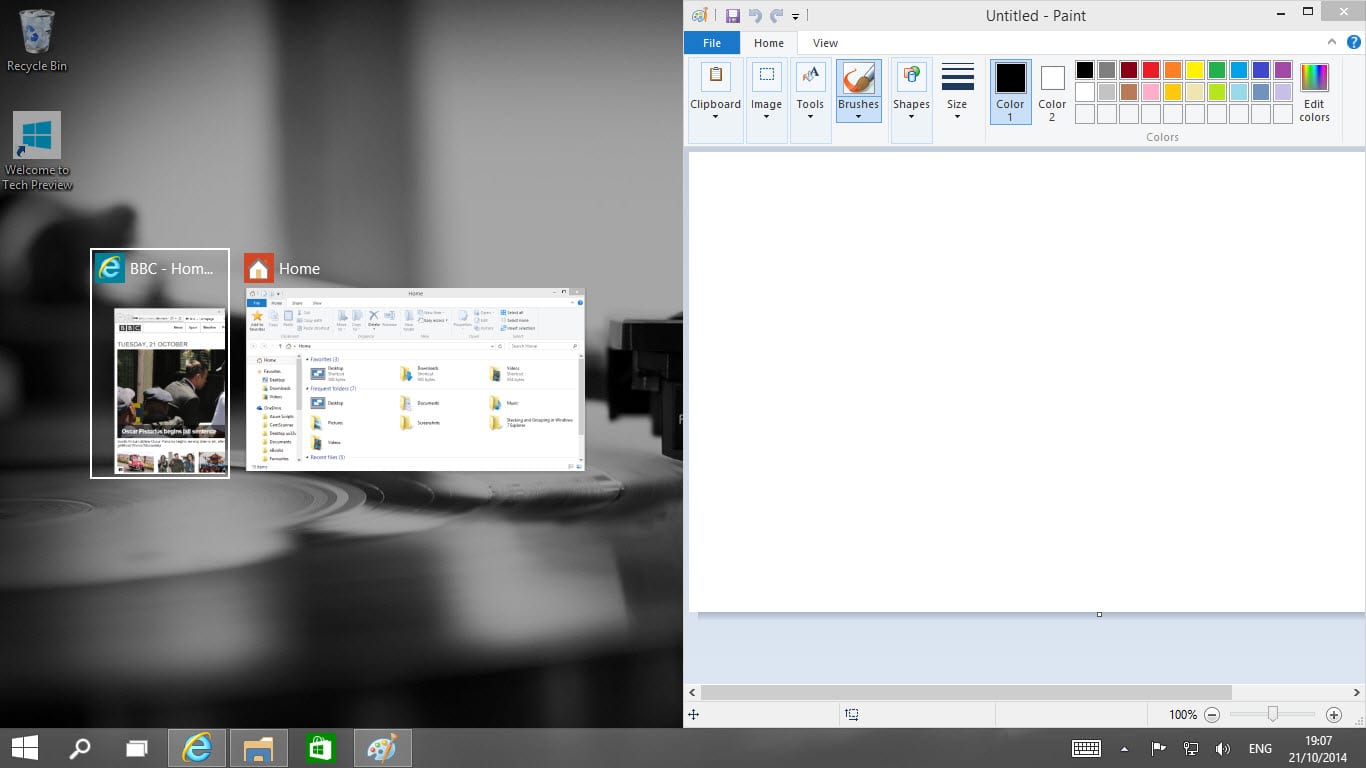
In the current build, Snap Assist only works when using the mouse, which is unfortunate because using the keyboard shortcuts is a much faster way to use Snap. Here’s hoping that Snap Assist will support keyboard shortcuts in a future build.