


Managing Linux, Windows, AWS, and Azure Using PowerShell Core Part 1: Installing PowerShell Core and Modules for Azure and AWS

In the first part of this two-part series, I’ll show you how to get started with PowerShell Core for managing heterogenous cloud environments. In the second part, I look at how to manage Linux and Windows systems remotely using PowerShell Core.
In case you missed it, Microsoft announced the general availability of PowerShell Core (PSC) 6.0 in January 2018. PowerShell Core is a cross-platform (Windows, Linux, MacOS), open-source version of PowerShell built for managing the hybrid cloud and mixed-OS environments. Windows PowerShell, which is what ships with modern versions of Windows, is based on the .NET Framework. But PowerShell Core is built on .NET Core, a scaled-down and open-source version of the .NET Framework for Windows and Linux.
If you use PowerShell exclusively to manage Windows, continue using Windows PowerShell because Core is missing dedicated Windows modules and a lot of functionality, like Out-GridView, PowerShell Workflows, WIM and COM support, and support for Remote Procedure Calls (RPC). But PowerShell Core, while in its infancy, is worth a look if you want to use a common shell to manage both Windows, Linux, and IaaS cloud solutions.
PowerShell Core and Azure Cloud Shell
If Microsoft Azure is your cloud platform of choice, you’ll be pleased to know that PowerShell Core is built-in to Cloud Shell. If you’re not familiar with Cloud Shell, it provides an interactive, browser-accessible shell for managing Azure resources. To access Cloud Shell, open the Azure management portal and click the Cloud Shell icon in the top right of the portal window, to the right of the notifications icon.
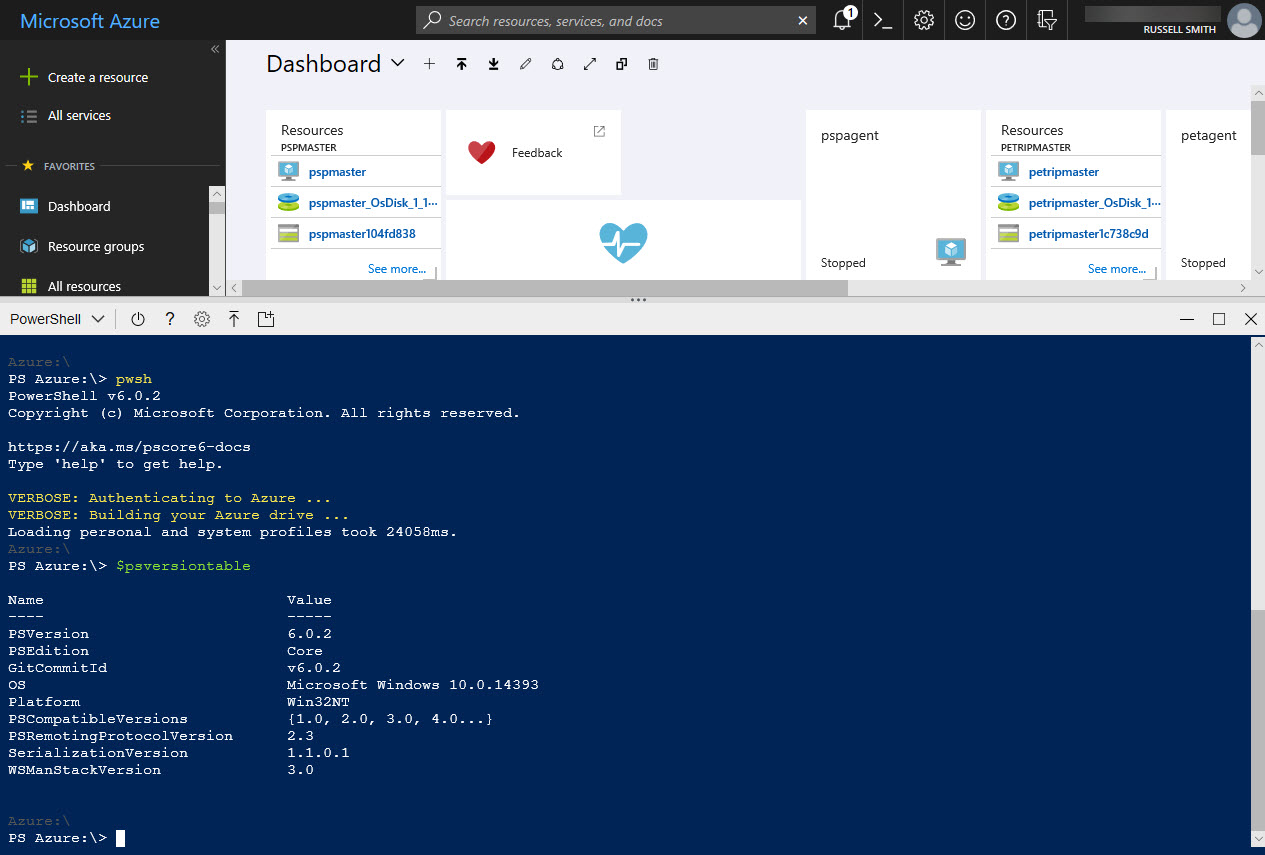
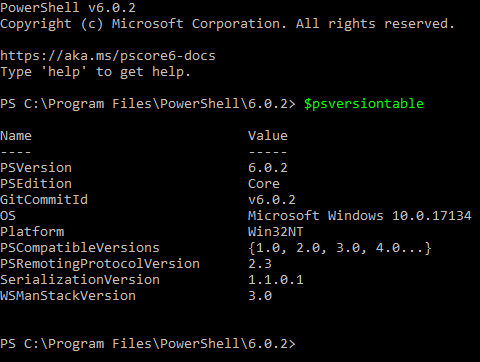
Windows PowerShell is the default setting when connecting to Cloud Shell. To switch to PowerShell Core, all you need to do is type pwsh and press ENTER. You can confirm the PowerShell version by typing $psversiontable and pressing ENTER. Azure PowerShell Resource Manager cmdlets work in PowerShell Core. For example, you can run cmdlets like Get-AzureRmVM to manage Azure resources. If you want to quit PowerShell Core and go back to Windows PowerShell, just type exit and press ENTER.
Installing PowerShell Core 6.0.2 in Windows 10
On March 15th Microsoft released an update to PowerShell Core 6, version 6.0.2. You can download it from GitHub here for all supported platforms. If you choose to install PowerShell Core, it won’t replace Windows PowerShell. PowerShell Core co-exists with Windows PowerShell.
When the installer has finished, you get the option to launch PowerShell. You’ll also see that PowerShell 6.0.2 is added to the list of installed apps in Windows and can be launched by searching for PowerShell in the search box in the bottom left of the taskbar.
Installing PowerShell Core in Ubuntu 14.04
Getting PowerShell Core installed in Linux is a bit more complicated and involves running several commands. The first command downloads and imports the GPG keys for Microsoft’s public repository. The second registers Microsoft’s Ubuntu repository on the device. Then the list of products in the repository is updated before finally installing PowerShell Core. If you are not familiar with Linux, the sudo command is used to run code with root privileges. This is roughly equivalent to the local administrator account in Windows.
curl https://packages.microsoft.com/keys/microsoft.asc | sudo apt-key add -
curl https://packages.microsoft.com/config/ubuntu/14.04/prod.list | sudo tee /etc/apt/sources.list.d/microsoft.list
sudo apt-get update
sudo apt-get install -y powershell
To start PowerShell Core, just type pwsh in your shell.
Using PowerShell Core
PowerShell Core currently has 425 commands and functions out-of-the-box. You can use the Get-Command cmdlet to list all the available cmdlets and functions.
Get-Module -ListAvailable
Managing Azure
If you want to use PowerShell Core on Linux or Windows to manage Azure, you will need to install the Azure module for PowerShell. On Windows, open PowerShell Core and run the command below. If you want to install the module just for the current user, add -Scope CurrentUser to the Install-Module command. Otherwise, make sure you open PowerShell Core with administrator privileges.
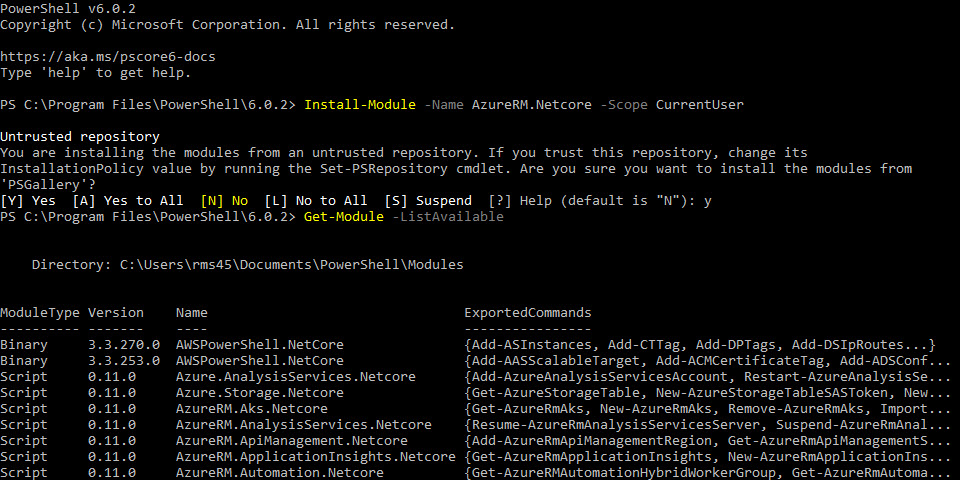
Install-Module -Name AzureRM.Netcore
On Linux, if you want to install Azure for PowerShell for all users, you’ll need to run the Install-Module cmdlet with root privileges:
sudo powershell -Command {Install-Module -Name AzureRM.Netcore}
To connect to your Azure tenant, use the Connect-AzureRmAccount cmdlet and enter your tenant credentials when prompted.
Managing Amazon Web Services (AWS)
In a similar vein, you can install the AWS PowerShell tools for PowerShell Core.
Install-Module -Name AWSPowerShell.NetCore
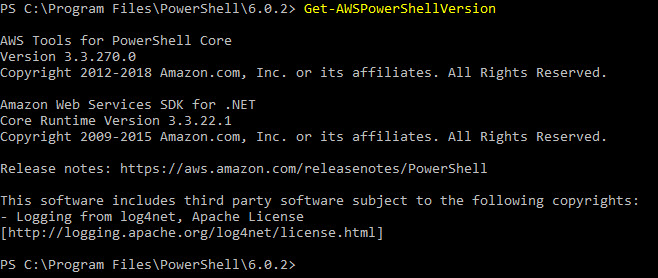
To check the currently installed version of the tools, use the Get-AWSPowerShellVersion cmdlet. For information about how to authenticate with AWS, see Amazon’s website here.
In this article, I showed you how to install PowerShell Core in Windows and Linux and how to add the PowerShell modules for managing Microsoft Azure and Amazon Web Services. In the second part, I’ll show you how to use PowerShell Remoting and SSH together to manage Linux and Windows systems using PowerShell Core.