


Getting Started with Project Honolulu

In this Ask the Admin, I’ll look at the technical preview of Project Honolulu in Windows Server version 1709.
If you’ve ever opened Computer Management, Device Manager, or Active Directory Users and Computers (ADUC), you will know what a typical Microsoft Management Console (MMC) looks like. It is a hierarchical tree that can be expanded to view configuration options. MMCs were first introduced in Windows 2000 and Microsoft has improved the original concept in Server Manager and the Active Directory Administrative Center. Neither is a major departure from the consoles they were designed to replace. MMCs have an unfriendly UI design and need to make a remote procedure call (RPC) to manage remote computers.
Project Honolulu is a complete reimagination of not only the user interface but also the back end. It uses a website to manage remote servers via a gateway using PowerShell remoting and WMI over WinRM. The gateway can be installed on Windows Server 2016 and Windows 10. Project Honolulu can manage Windows Server 2016, Windows Server 2012 R2, and Windows Server 2012. Because the gateway is a webserver application, administrators can connect to it from the public Internet and the local area network. Connecting to a gateway, rather than directly to the nodes you want to manage, allows for more flexibility and the option to secure communications easily.
Install a Gateway in Windows Server 2016
The gateway can be installed on Windows 10, for small-scale environments, or on a server. If you want to manage Windows Server 2012 or Windows Server 2012 R2, you’ll need to install the Windows Management Framework (WMF) version 5.0 on devices running those operating systems. I installed the gateway in Windows Server 2016. You can download Project Honolulu here from Microsoft’s website.
Once you’ve installed the gateway, open the Project Honolulu website using the link provided on the desktop. Interestingly, the website doesn’t work in IE. As this is a test lab, I decided to install Google Chrome on the server and make it the default browser. In a production environment, you should access the Project Honolulu website from a browser on your workstation. It’s not recommended to install browsers or surf the Internet on a server.
Working with Project Honolulu
The Project Honolulu site opens and works well in Chrome. The All Connections screen shows you the list of servers you can manage. The gateway server appears by default. You can add servers, failover clusters, and hyper-converged clusters by clicking + Add. All you need to do is type the DNS name of a remote server or import a list of servers from a .txt file.
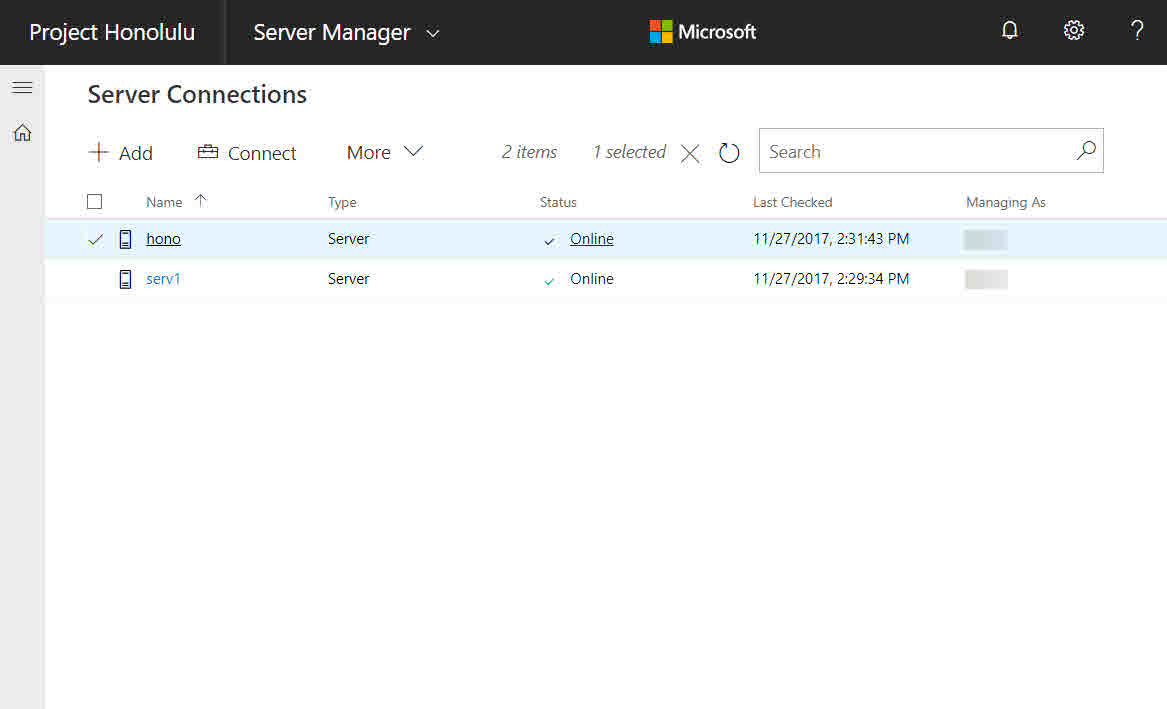
You can authorize it to remote servers and clusters using the Windows account you are logged in to the gateway with, credentials you provide manually for the session, or Local Administration Password Solution (LAPS) credentials. For more information on LAPS, see Secure Local Administrator Accounts with the Local Administrator Password Solution (LAPS) Tool on Petri.
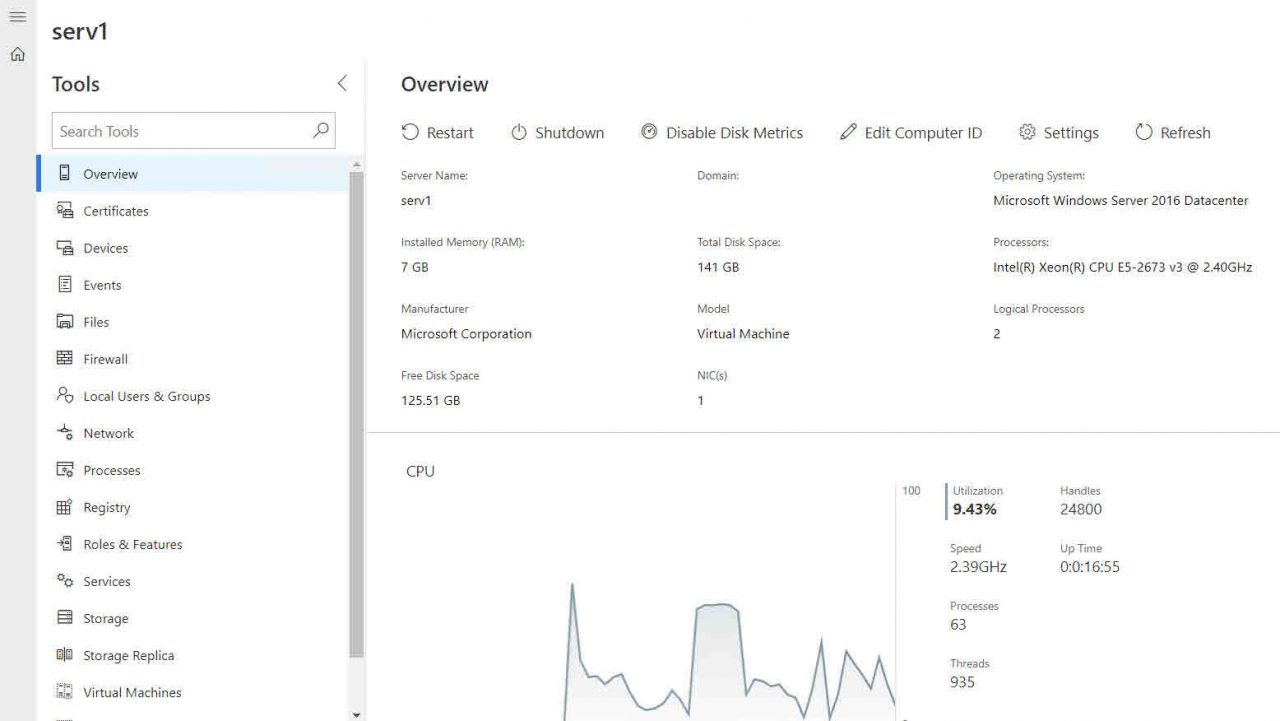
Click on a server on the All Connections screen. An overview of the server’s health is displayed by default for the server, like that displayed by Task Manager. The graphs for CPU, memory, disk, and network are updated in real time and you can restart and shutdown the server.
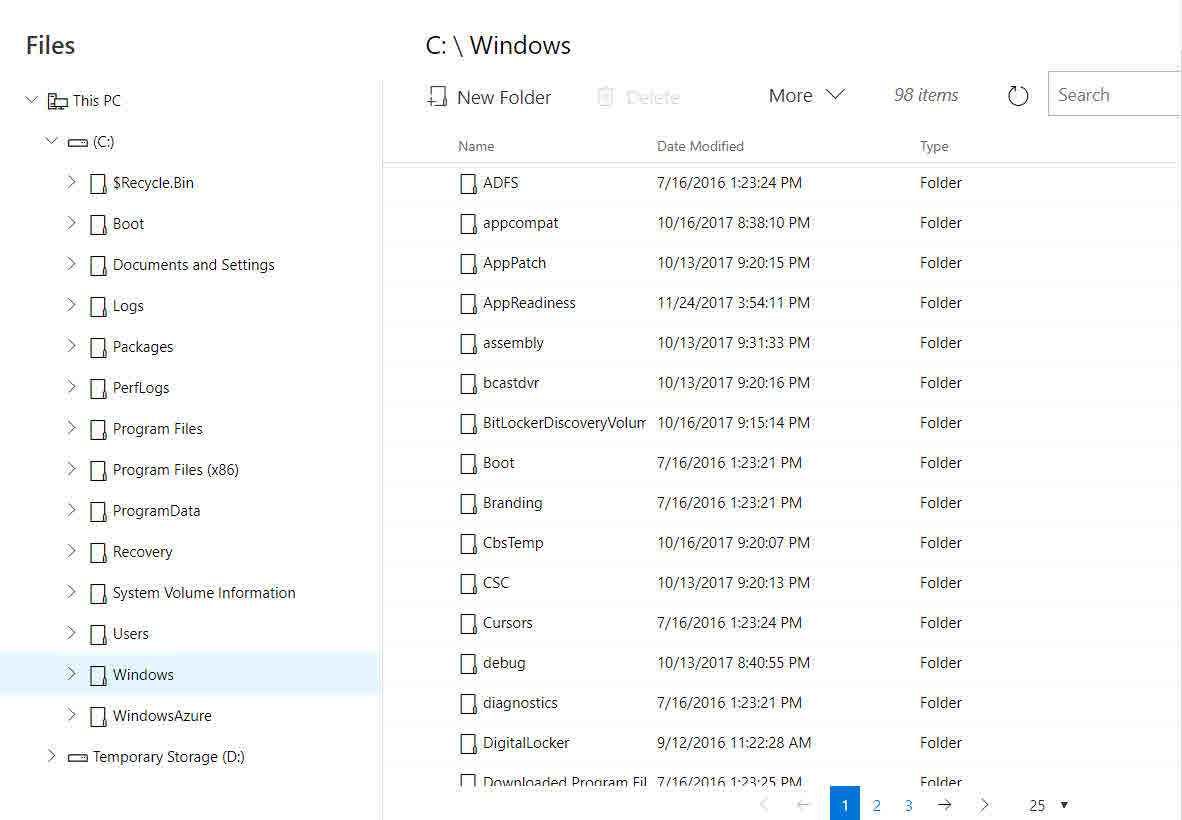
There’s a list of tools on the left, which you can search. Most things you’d expect are present, including the ability to manage services, the registry, devices, files, Windows Update, virtual machines if the Hyper-V role is installed, events, Windows Firewall, network adapters, local users, and groups.
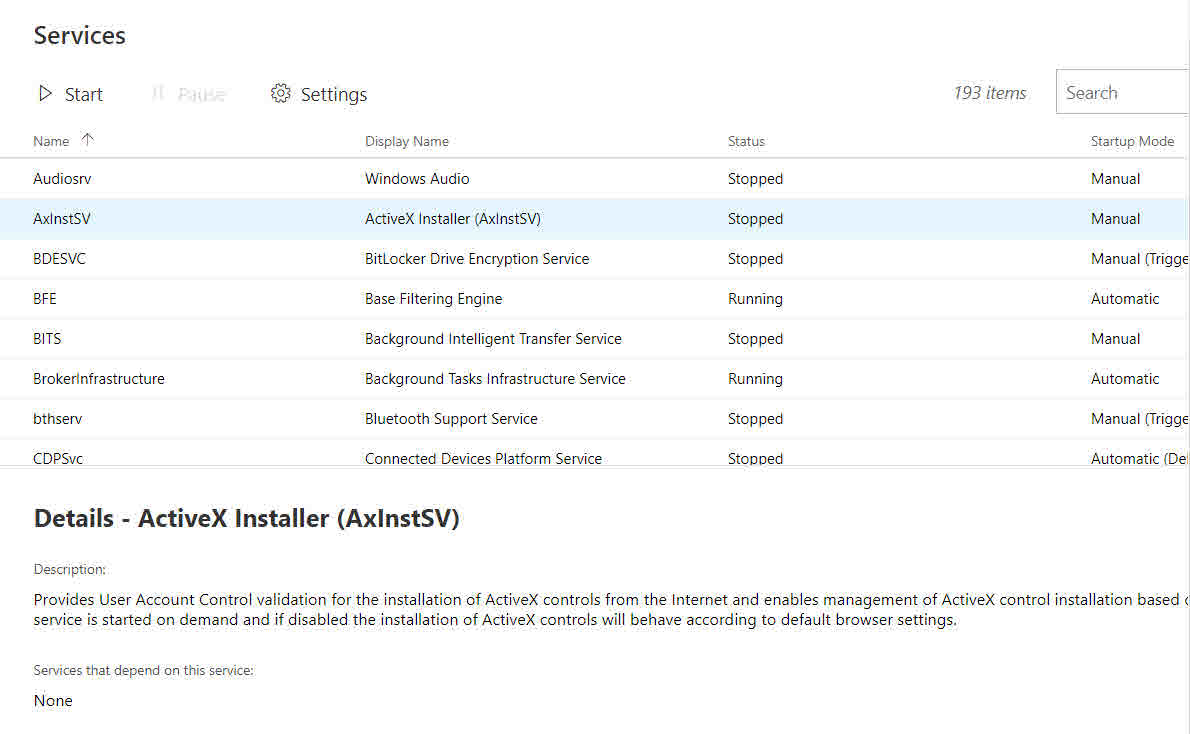
The tools allow you to carry out basic tasks. For example, Services lists the services installed on the server, displays the status, you can set the startup type, and start and stop services. If you want to set recovery options or specify a service account, you are out of luck. Device Manager lets you disable devices but there’s no access to more advanced configuration. Scheduled Tasks is conspicuous by its absence. Events can be exported and filtered but advanced options found in Event Viewer are missing.
A Good Start
This is the first public preview of Project Honolulu and it looks like Server Manager on steroids, but you don’t get a dashboard that provides a quick overview of the health of all servers managed through the gateway. There’s a comprehensive set of tools available but most of them lack the advanced configuration options found in MMC equivalents. While I like what I see, if Project Honolulu will replace MMCs in the future, there’s still a lot of work to do. Windows Insiders already have access to an updated version, so it looks like Microsoft might move development along quite quickly.
Nevertheless, as a basic management tool, Project Honolulu might fit your needs as it now stands and it’s nice to have most of the tools you need in one place. There are some notable tools missing, like Scheduled Tasks and tools for managing server features, like Active Directory and DNS.
In this Ask the Admin, I explained what Project Honolulu is and how to get it up and running in Windows Server 2016.