


Released in preview last year, Microsoft Forms allows educators and businesses to create online surveys and assessments. In this Ask the Admin, I’ll show you what you can do with Forms.
Microsoft recently launched a preview of Office 365 Forms for business customers that have chosen to receive first release Office builds. Forms has been available to education customers since last summer but it is now being made more widely available. Microsoft is challenging Google in the education space and needed a solution to match Google Forms. It now makes sense to present Forms to a wider audience. Even in its design, you get the feeling that Forms has been planned with education in mind. When selecting a theme, there are various backgrounds available that seem more suitable for a young audience than business partners.
Regardless of the visual elements, organizations and businesses can use Forms to conduct polls amongst customers or gather information internally. Forms could not be easier to use. It can be accessed from the apps menu in Office 365 or by going here. On the main screen, you can create a new form or quiz, see any forms you previously created, or see forms shared with you by other users. Forms can be restricted to Office 365 users in your tenant or you can opt to share forms with anyone via email or a URL.
Form Creation
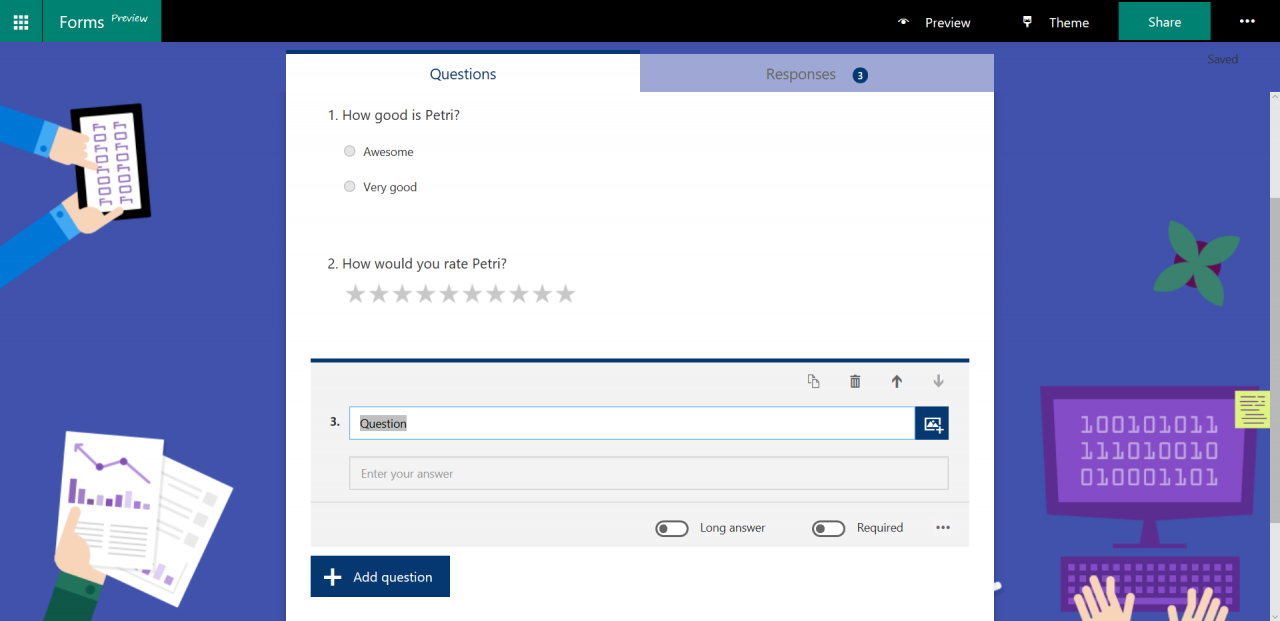
The process of creating forms is straightforward. The formatting is handled automatically. All you need to do is add questions, which can be: multiple choice, text response, rating, or date field. Images and videos can be added to questions and the order can be changed if necessary. And as I mentioned, the visual appearance can be changed by selecting a theme.
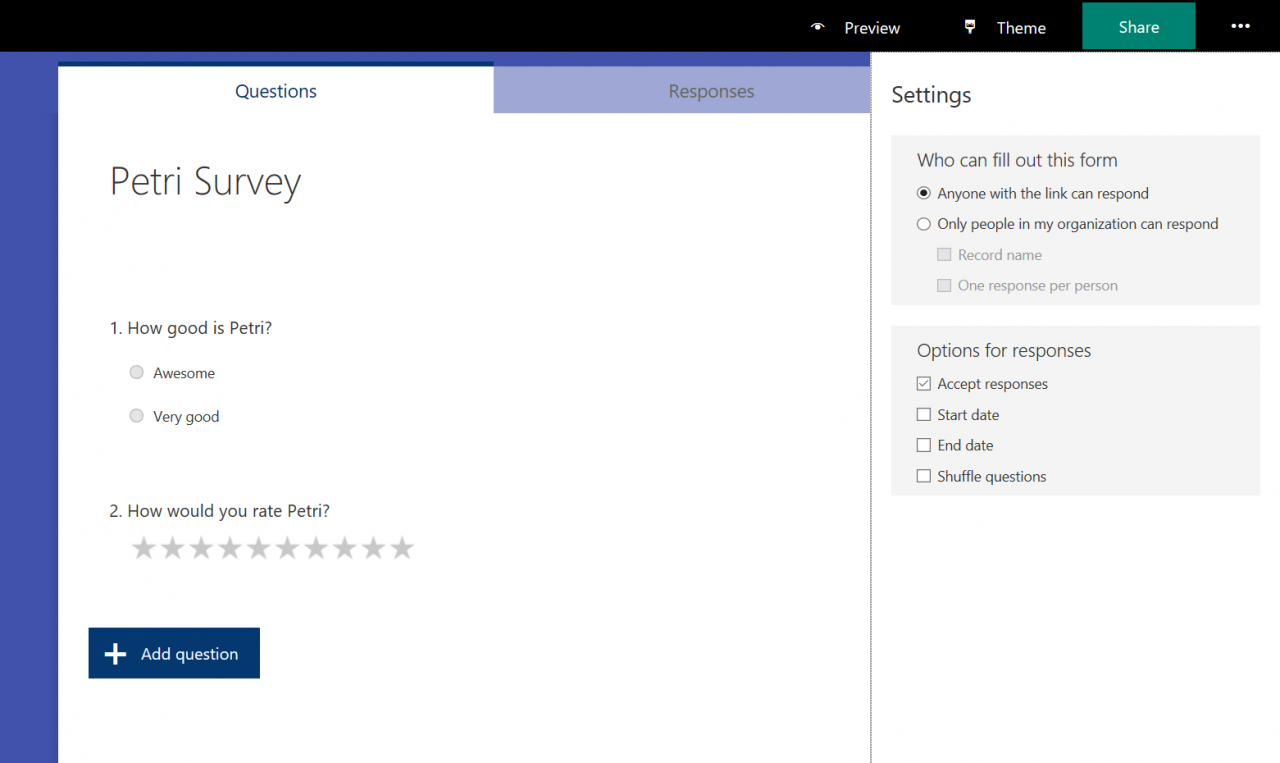
You can also set a start and end date for the form.
Getting Results
Once you have created your form and sent it out, just wait for the results to appear on the Results tab. Forms does a great job of displaying all the responses in an understandable way. First, Forms will show you the number of responses so far, plus the average time users took to complete the form, and then the status of the form: active or completed.
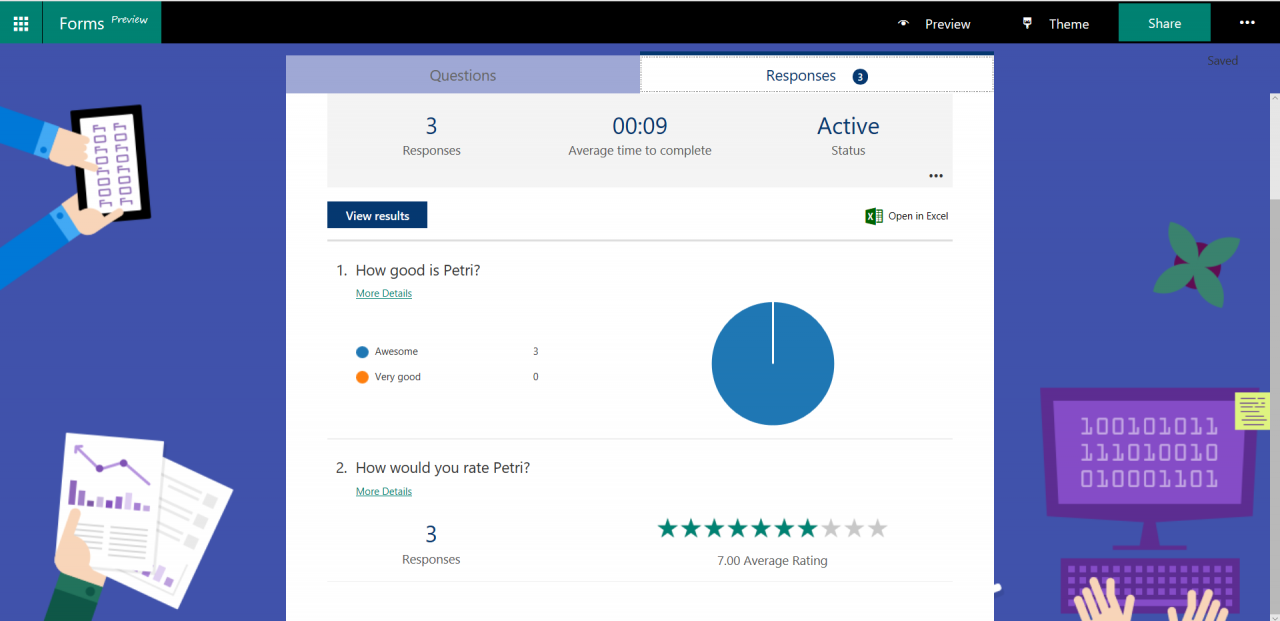
The resulting data is presented in graph form, which you can click to drill down into the information you need. Each respondent’s form can be viewed individually if required. You can also export results to an Excel file for deeper analysis.
If you need to collect information, test employees, or even just ask a series of standard questions as client requests come in, Forms might be worth a look. You can print form responses. Therefore, if you want to pull out information that an individual respondent submitted, you can export that information to PDF or OneNote via the print dialogue.
In the future, it would be nice to see more integration with other Office 365 apps. An obvious use case would be with Outlook Customer Manager. Potential clients would respond to questions and the results would automatically be linked to the customer or deal and made available in Outlook.
Follow Russell on Twitter @smithrussell.