


Create a Cloud Storage Local Cache Using Azure File Sync

Microsoft announced the availability of Azure File Sync in preview last week at MS Ignite. Azure File Sync turns a Windows fileserver into a lightweight, disposable, performance cache for Azure Files. In this Ask the Admin, I’ll look at how Azure File Sync works and how to enable it in the Azure management portal.
Cloud storage to most people means Dropbox, OneDrive, or SharePoint. These services are popular because they integrate with Office and provide collaboration features. Azure Files provides a way to set up traditional SMB 3.0 compatible file shares as a service in the cloud. This is especially useful for companies looking to migrate legacy on-premises apps that rely on files share to the cloud.
Azure Files could be a replacement for on-site fileservers in some situations. This is especially true when you consider all the features offered by Azure Storage, such as automatic geographic replication, a single global infrastructure, storage tiering, and scaling on demand. As it stands, Azure Files shares don’t offer the same performance as a local fileserver.
To solve that problem, Microsoft has released Azure File Sync. The idea is simple. Install an agent on a local fileserver that keeps directories in sync with an Azure Files share. Users access the local Windows Server instead of the cloud share. The local fileserver effectively acts as a cache for the cloud share. Microsoft has included cloud tiering as an optional feature that keeps frequently accessed files on the local fileserver but moves less active content to the cloud, helping to save space. If your local fileserver fails, you can configure a new server, install the Azure File Sync agent, and let it sync with the cloud endpoint. The logical directory structure is restored almost instantly with the actual content left to synchronize in the background.
To facilitate the deployment of Azure File Sync, sync groups allow administrators to manage the locations that should be kept in sync. A sync group has one cloud endpoint or in other words, is assigned one Azure Files share. You can then add Windows Server 2012 R2 or Windows Server 2016 fileservers to the sync group. Each server contains a file path to which the contents of the Azure Files share is synchronized.
Configure Azure File Sync
Before you can set up Azure File Sync, you’ll need at least one Azure Files share. Azure Files shares can be configured from the Storage accounts panel in the Azure management portal. To open the Storage accounts panel, type storage in the search box at the top of the portal, and select Storage accounts under SERVICES. You can create an Azure Files share in your default storage account or create a new storage account.
The good news is that Azure Files shares are much easier to create than when the service was first released. Just click Files in the panel of the selected storage account and click + File share at the top of the File service panel. The file share name must be in lowercase.
Once the Azure Files share is created, set up Azure File Sync by following this link. In the Deploy Storage Sync panel, give the new sync deployment a name, select your Azure subscription, select the resource group you want to use, and finally the location. Click Create to complete the process. Once the service has been deployed, you’ll see a notification in the Notification Center where you have the option to pin the new sync service to the portal dashboard. I did this for convenience.
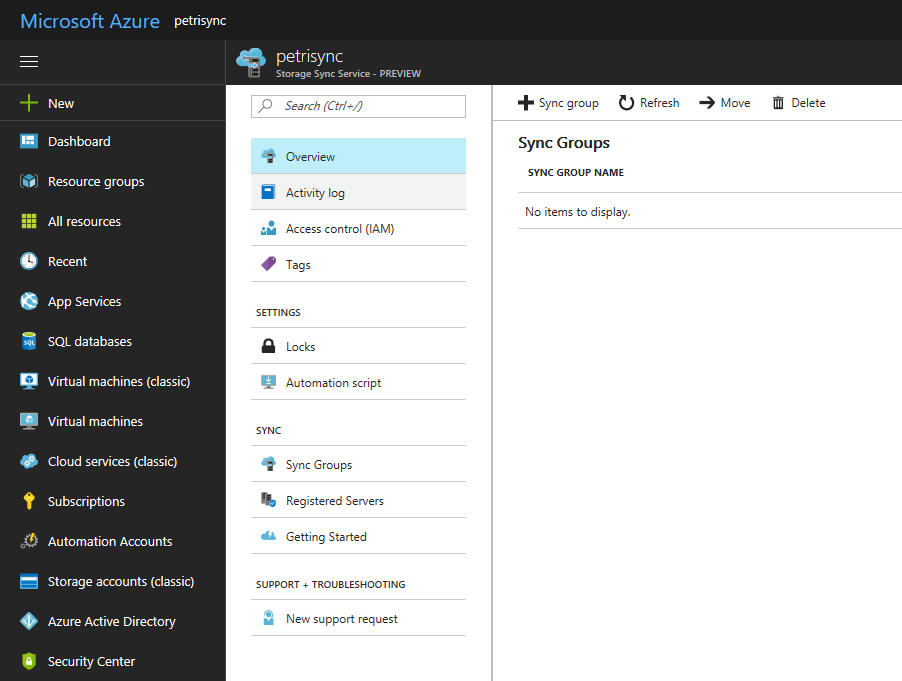
Open the new sync service and create a sync group. You need to give it a name, select the Azure subscription, a storage account, and the name of an Azure Files share to sync.
Now all you need to do is to set up a Windows fileserver to connect to the sync service. Before you can register the server with the sync service, Azure PowerShell must be installed on the server. Log in to the server, open a PowerShell prompt, and run Install-Module AzureRM. For more detailed instructions on installing the module, see Microsoft’s website here. Now download the Azure File Sync agent using this link and install it on the server.
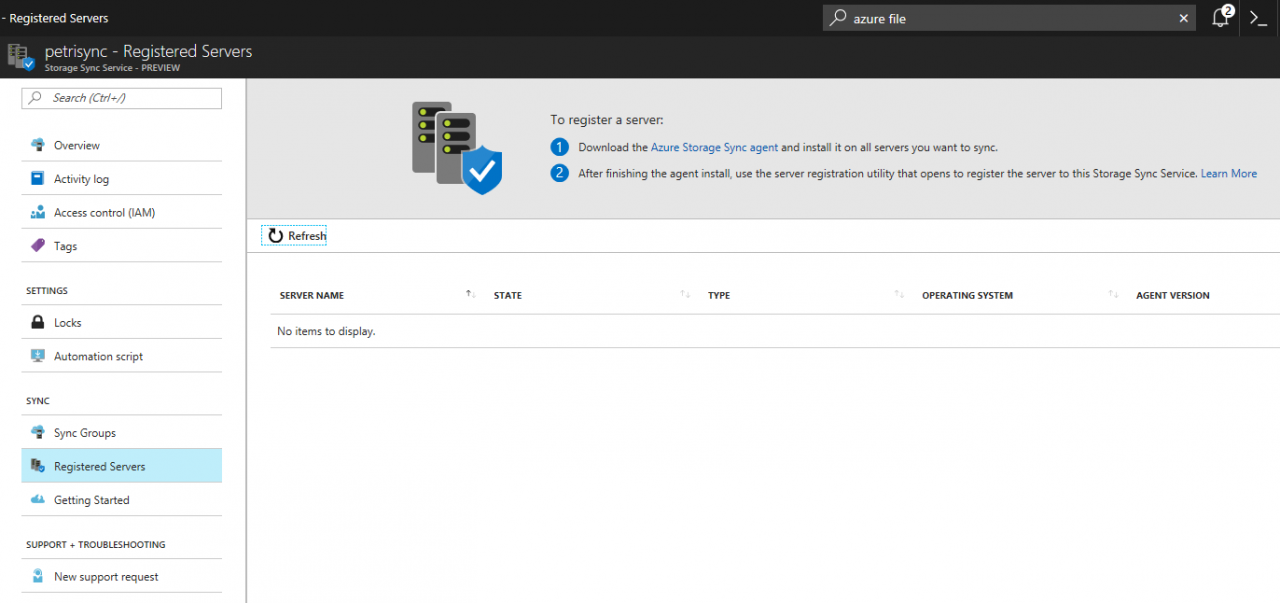
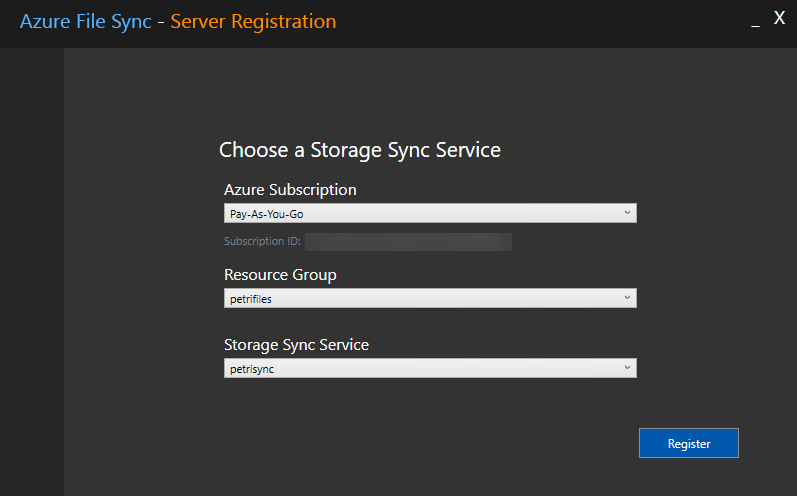
Once the agent has installed, the registration process should start automatically. If it doesn’t, run ServerRegistration.exe in C:\Program Files\Azure\StorageSyncAgent\. You’ll be asked to sign into Azure. Then select the Azure subscription, resource group, storage sync service that you want to connect the server to, and click Register. I had to sign into Azure again to complete the process. You will get a message to say the registration was successful. Now click Registered Servers on the Storage Sync Service panel in the Azure management portal and you should see your Windows fileserver on the list.
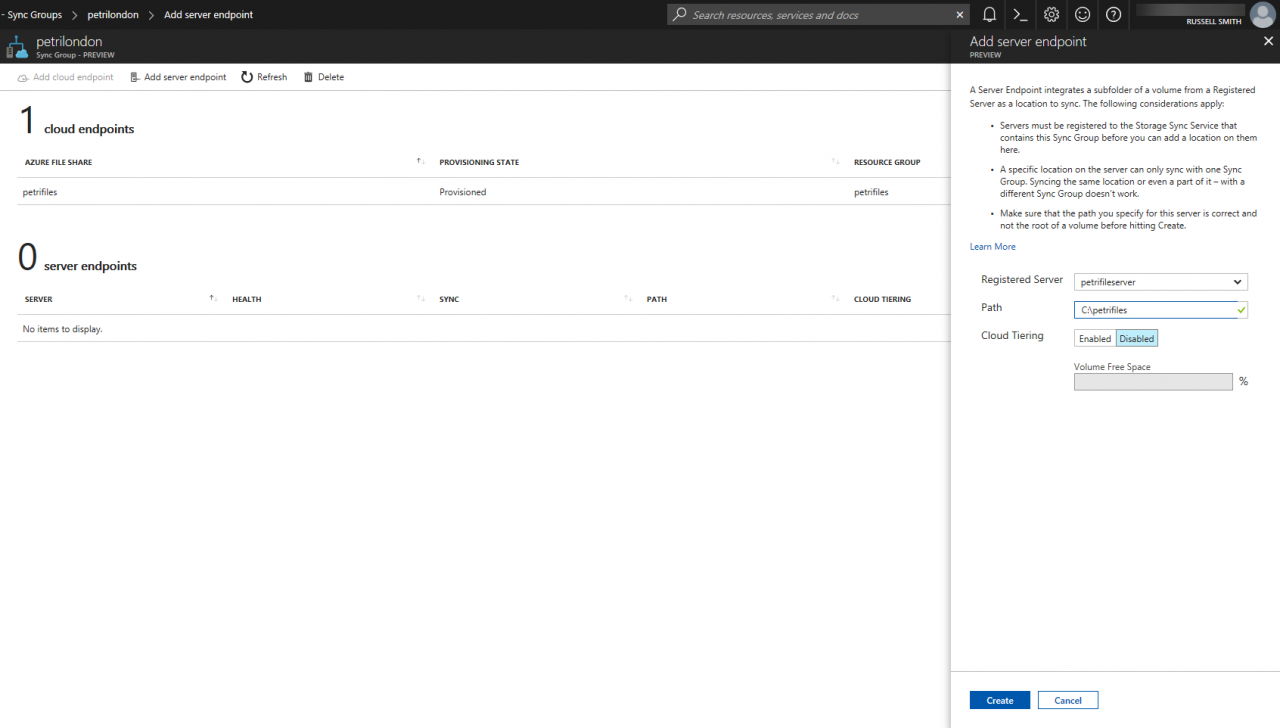
Lastly, add the registered server to the sync group you created earlier. Before adding the server, create a path on the server to which the Azure Files share will be synchronized. For example, C:\petrifiles. Click Sync Groups on the Storage Sync Service panel, then click the sync group you created earlier. Click Add server endpoint at the top of the Sync Group panel. In the Add server endpoint panel, select the registered server using the drop-down menu, specify the file path you created on the file server, and click Create. The endpoint will be added to the list on the Sync Group panel.
Roadmap
Azure File Sync sounds like a great idea. And in my testing, it seems to work as advertised. Before it could be considered fit for production, Microsoft needs to add a global file lock mechanism to ensure that conflicts don’t force the sync service to generate multiple copies of a file, which is currently how conflicts are handled. Also, more control over tiered storage is needed so that administrators can pin folders that should always remain online. Microsoft promises that both these features will appear in preview at a later date.
It’s early days and Microsoft has already added some nice touches. Files that are offline are greyed out in Windows Explorer and marked with an attribute, O for offline. This is so that users can easily see which files are cached locally on the fileserver. It’s also worth noting that Azure File Sync supports synchronization of access control lists (ACLs) if the fileserver partition is NTFS format and if all servers in the sync group are in the same trusted forest.
Once Azure File Sync is ready for production, it will provide organizations that need to keep the traditional fileserver model with an interesting alternative to an on-premises only solution. The flexibility that Azure Storage offers could help organizations simplify backup, improve availability, and reduce costs but without compromising on performance.
Follow Russell on Twitter @smithrussell.