


Create a VNet-to-VNet VPN in the Azure Management Portal

In today’s Ask the Admin, I’ll show you how to create two virtual networks (VNets) and link them together using a Virtual Private Network (VPN) in the new Azure Management Portal.
The new Azure management portal reached General Availability in December last year, and because it’s based on Azure Resource Management (ARM) rather than the classic deployment methods supported by the original management GUI, almost all configuration tasks have changed.
The process involves the following steps:
- Create a VNet
- Add a gateway subnet
- Assign a public IP address
- Add a virtual network gateway
- Repeat steps 1 – 4 to create a second VNet
- Create a connection object that connects the two virtual network gateways
If you still prefer to use the old management console, take a look at Aidan Finn’s article Deploying VNet-to-VNet VPNs in Azure on the Petri IT Knowledgebase.
Create a new virtual network
Start by creating a virtual network. For the purposes of this article, I’ll create the first virtual network with an address space of 10.8.0.0/16 and default subnet using the 10.8.0.0/24 address range. The second subnet will have an address space of 192.168.0.0/16 and default subnet with the address range 192.168.0.0/24.
- Log in to the Azure management portal here.
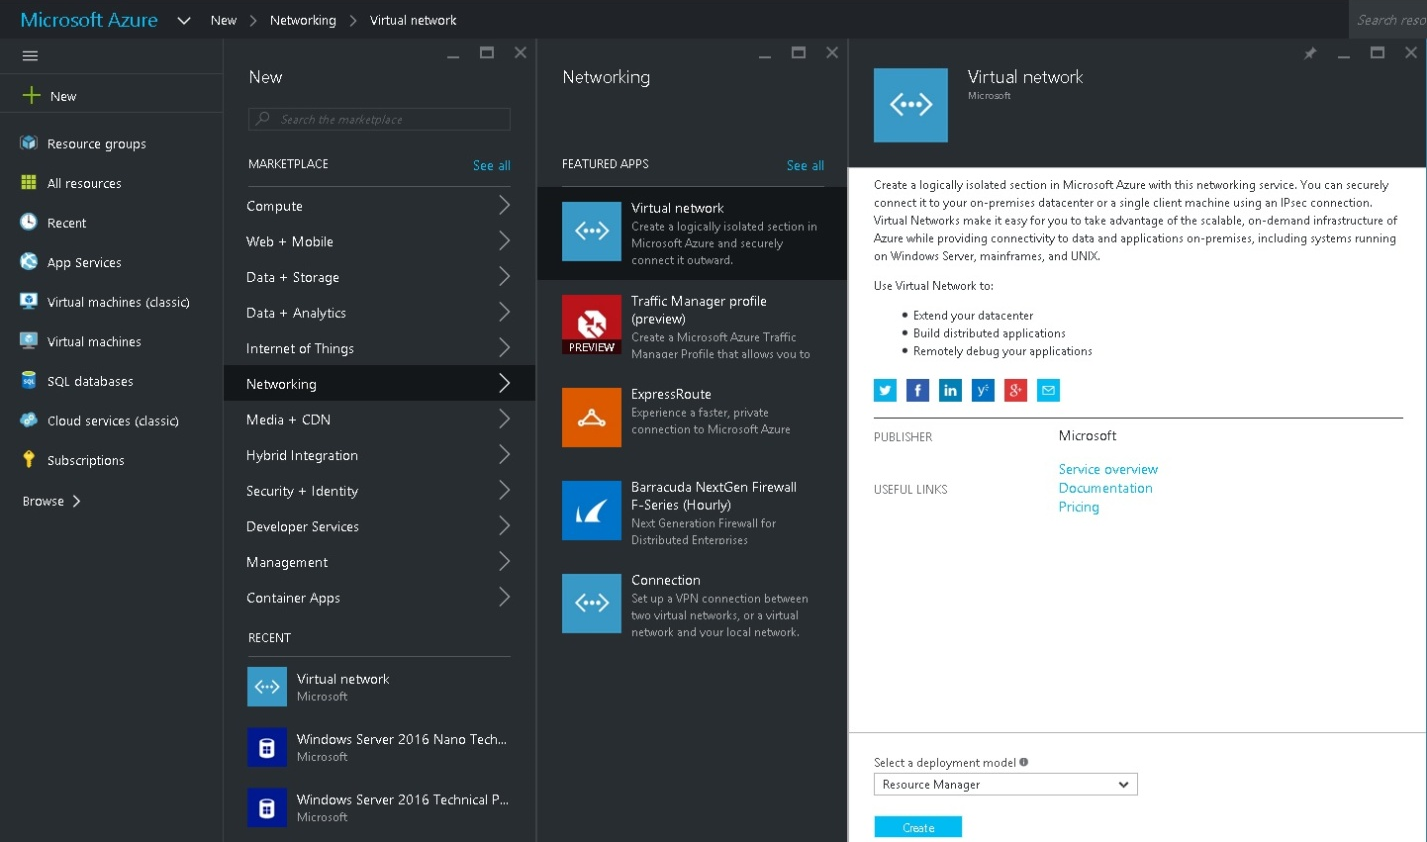
- In the left pane of the portal window, click + New.
- In the New pane, click Networking.
- In the Networking pane, click Virtual network.
- In the Virtual network pane, make that Resource Manager is selected as the deployment model in the dropdown menu and then click Create.
- In the Create virtual network pane, give the new VNet a name and modify the default Address space and Subnet address range settings if required.
- If you want to add the new VNet to an existing Resource Group (RG), click Select existing under Resource Group and select a RG from the list. Otherwise, type a new RG name into the empty field and click Create.
- Change the Azure region if required using the Location dropdown menu.
- Click Create to complete the process.
- Once the new VNet has been created, you’ll see a popup message in the portal window.
Add a gateway subnet
Before we can connect two virtual networks using a VPN, each VNet must have a small gateway subnet. In this example, I’ve chosen 10.8.1.0/28 as the gateway address space, giving 16 available addresses.
- In the Settings pane, click Subnets.
- In the Subnets pane, click + Add.
- In the Add subnet pane, name the new subnet GatewaySubnet and configure an address space.
The chosen address space shouldn’t overlap with an existing address space in the virtual network, or have a subnet mask smaller than /16 or greater than /29.
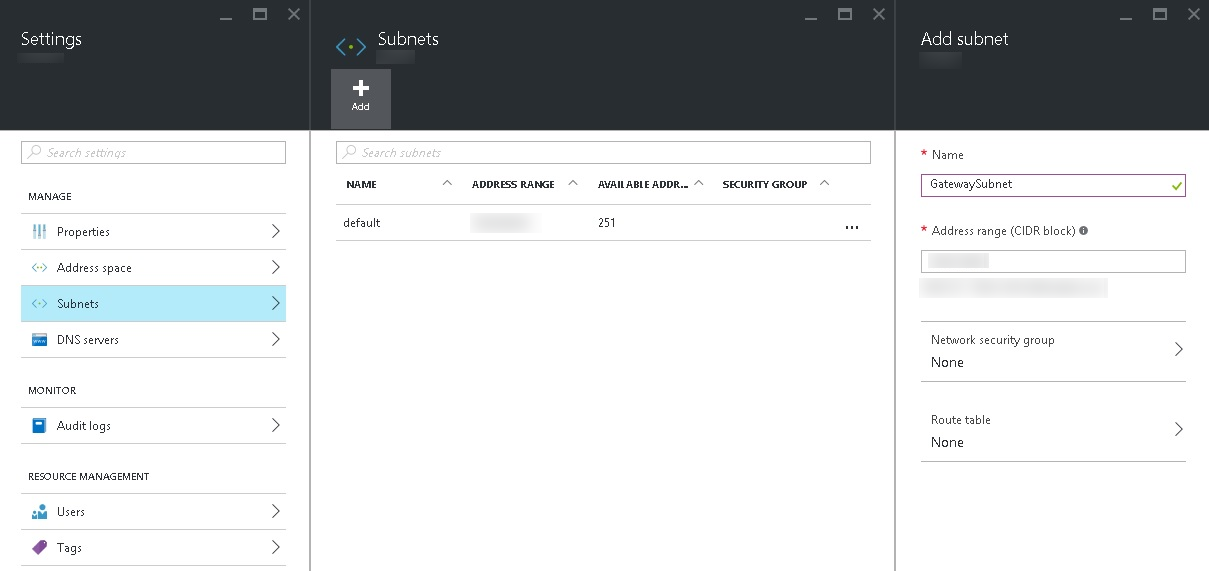
- Click OK.
The new subnet will now appear in the Subnets pane.
Add a public IP address to the virtual network
To connect the two VNets to each other we need to give each one a unique public IP address.
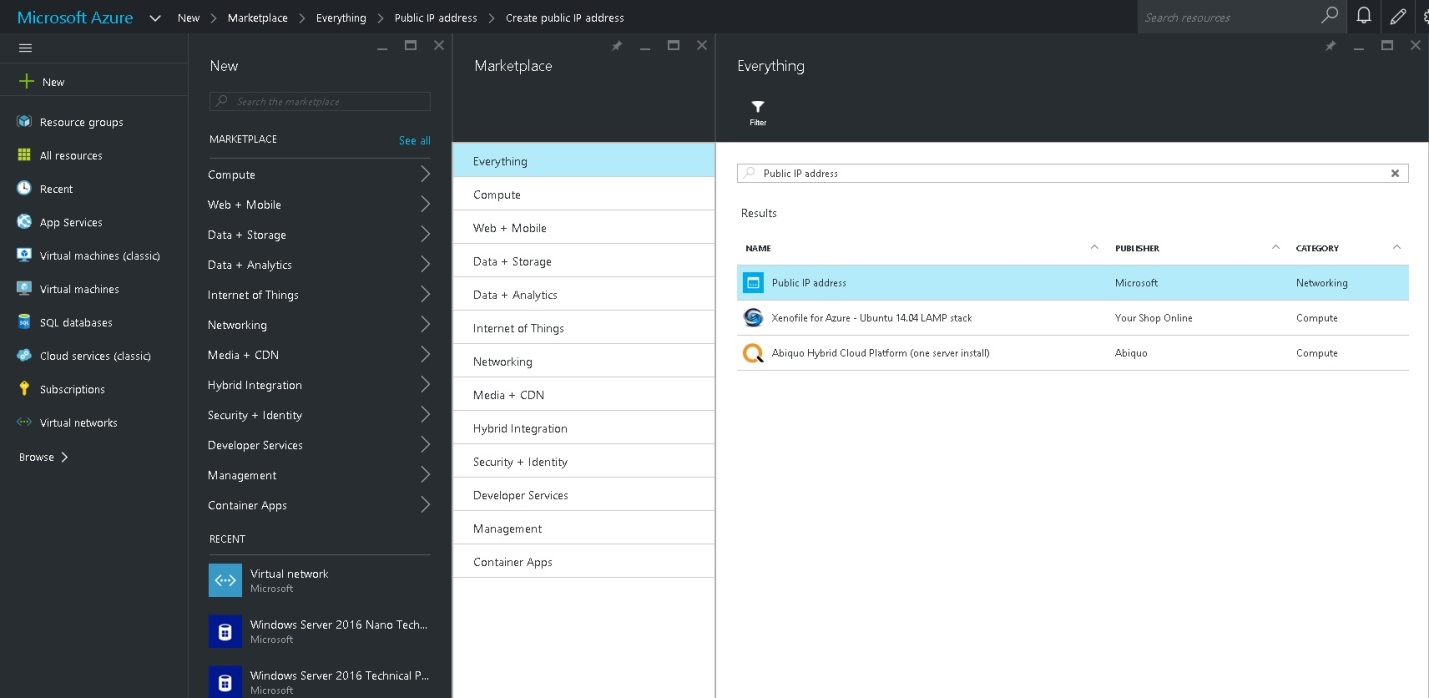
- Click + New in the left pane of the Azure management portal.
- In the Search field, type public and select Public IP address from the list of results.
- In the search results pane, click Public IP address.
- Click Create in the Public IP address pane.
- In the Create public IP address pane, give the new resource a name.
- Click Select existing under Resource Group and choose the RG we created in the previous steps.
- Click Create.
Wait for the completion message in the Azure portal. You can view messages by clicking the alarm icon in the top right of the portal window.
Create a VNet gateway
Now all that’s left to do is create a VNet gateway for the virtual network.
- Click + New in the left pane of the Azure management portal.
- In the Search field, type gateway and select Virtual network gateway from the list of results.
- In the search results pane, click Virtual network gateway.
- Click Create in the Virtual network gateway pane.
- Give the new VPN gateway a name.
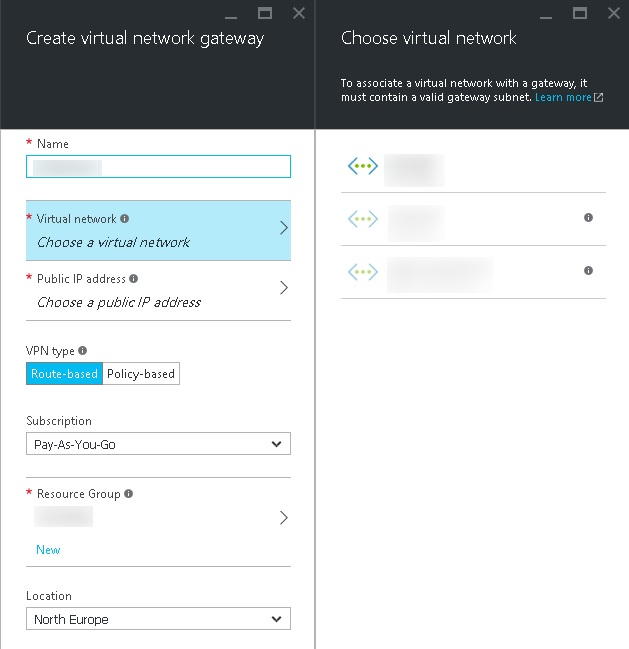
- Now associate the new gateway with the virtual network and public IP address created in the previous steps by clicking Choose a virtual network and Choose a public IP address respectively.
- Click Select existing under Resource Group and choose the RG we created in the previous steps.
- Click Create.
While the new gateway is being deployed, repeat the above procedures to create a second VNet. Virtual network gateways can take up to 30 minutes to be provisioned.
Create a connection
Once both the VNets and their virtual network gateways have been deployed, we need to create a connection object between the two gateways.
- Click + New in the left pane of the Azure management portal.
- In the New pane, click Networking.
- In the Networking pane, click Connection.
- In the Connection pane, give the new connection a name.
- Make sure that VNet-to-VNet is selected under Connection type.
- In the First virtual network gateway and Second virtual network gateway fields, select the two VNets created in the steps above respectively.
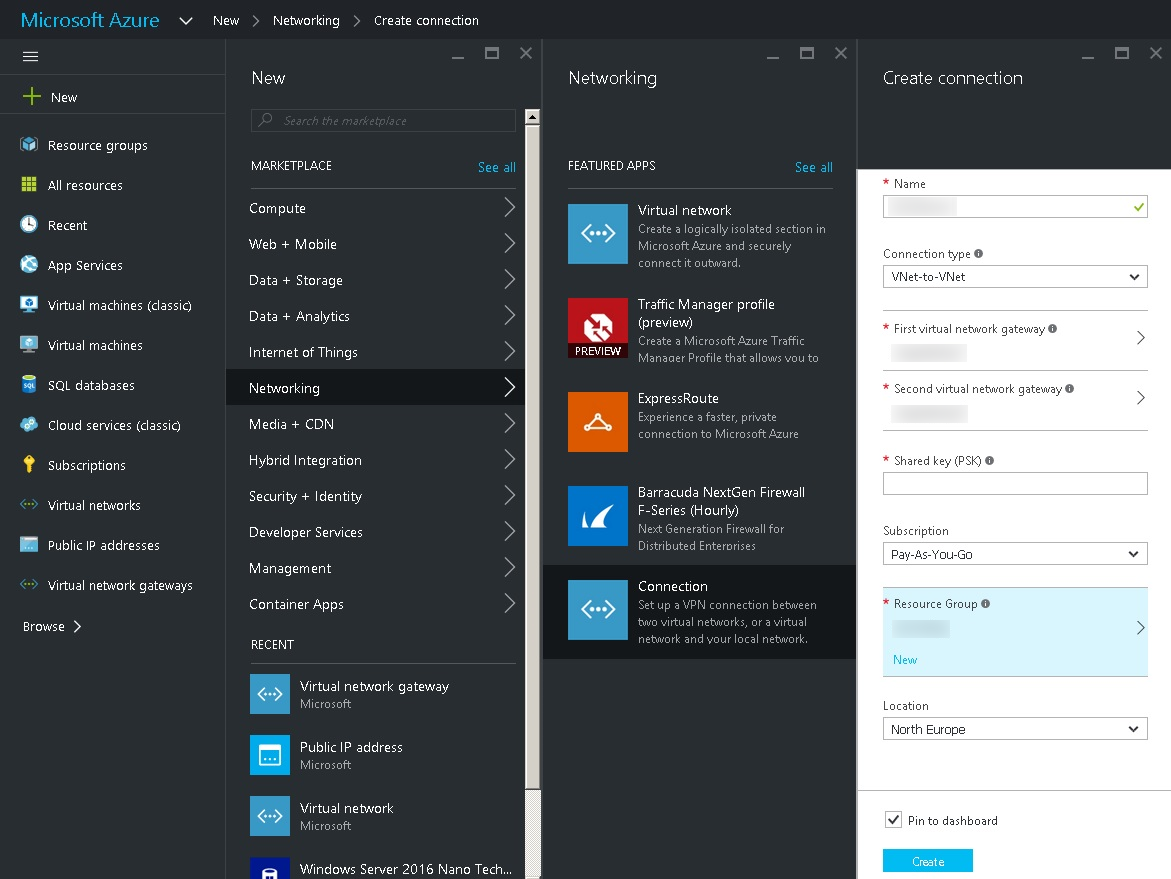
- In the Shared key (PSK) field, type a long key that will be used to establish the VPN between the two VNets.
- In the Resource Group field, select click Select existing to choose an existing RG, or type the name of a new RG for the connection.
- Click Create to establish the connection.