


Change Windows 10 Graphics Settings to Solve Display Problems on Devices with Dual GPUs
As an IT administrator or business professional, you might not have reason to change graphics settings in Windows 10 very often. In fact, it had been so long since I’d had any issues with the graphics processing units (GPU) in my daily driver device, I’d not noticed some important changes to the graphics configuration options in Windows.
I’ve always opted for Nvidia GPUs and Intel processors because better the devil you know. And it had always been that if I wanted to force an application to run on either the integrated graphics chip or Nvidia discrete GPU, the Nvidia control panel was the place to go.
But starting in the Windows 10 April 2018 Update, graphics processor preference is controlled in the Windows 10 Settings app. It even tells you this in the Nvidia control panel, but I just ignored it. My issue started when trying to record my screen using an application called OBS Studio. OBS is a popular application for screen recording and live streaming. But if you have a device with more than one GPU, sometimes when you enable screen capture in OBS, the result is a black screen.
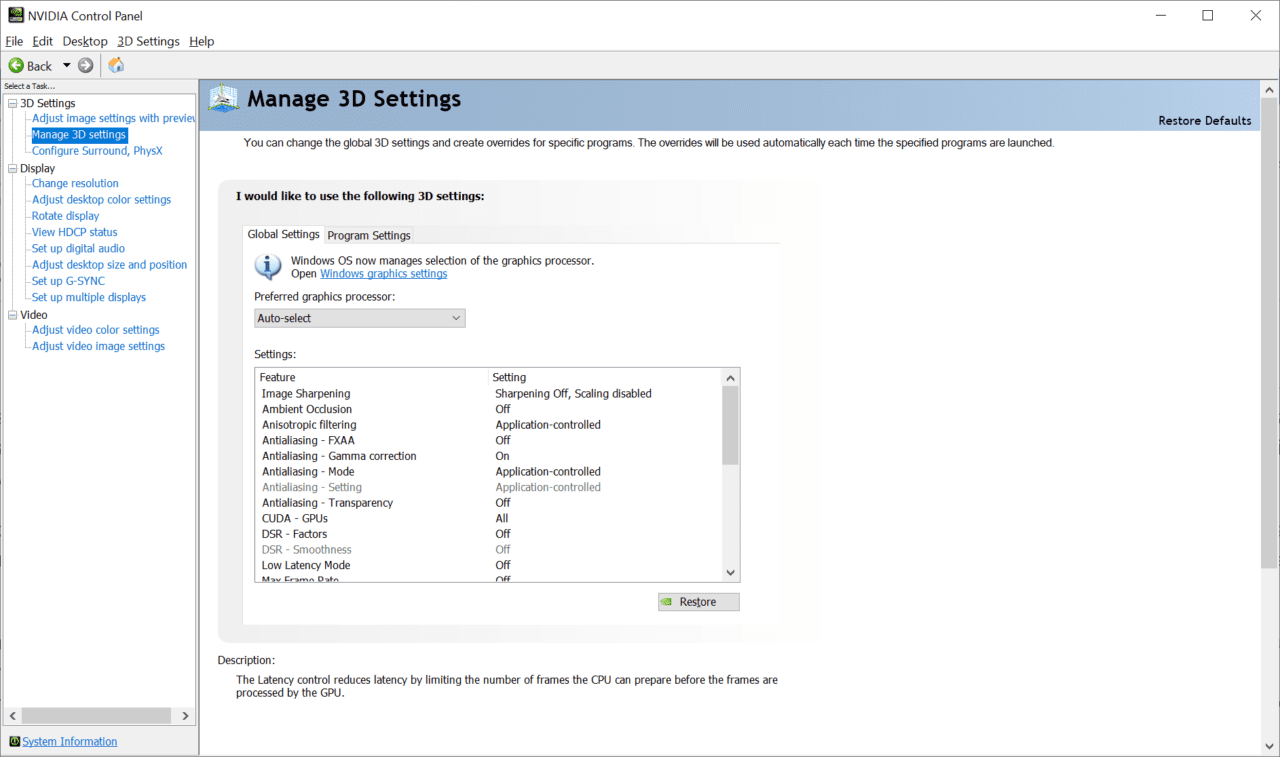
It occurred to me that maybe I needed to force OBS to run on the integrated Intel graphics. So, I set the configuration in the Nvidia control panel, but it didn’t solve my problem. Then after scratching my head for a while, I decided to pay attention to what was written under Manage 3D Settings in the Nvidia control panel: “Windows OS now manages selection of the graphics processor. Open Windows graphics settings”.
Assumedly, the preference settings have been left in the Nvidia control panel to support older versions of Windows. But you should pay attention to the warning because changing the preference settings in the Nvidia control panel will have no effect in the Windows 10 April 2018 Update or later.
Graphics performance preference settings
To change the graphics processor preference settings for an application, you need to go to Graphics settings in the Settings app.
- Open the Settings app in Windows 10 using WIN+I.
- In the Find a setting box, type graphics and select Graphics settings from the list.
- In the dropdown menu below Graphics performance preference, select either Desktop app or Microsoft Store app, depending on the kind of app for which you want to set a preference.
- If you selected Microsoft Store app, then choose the app from the dropdown menu and click Add.
- If you selected Desktop app, then click Browse and find the runtime for the app you want to configure. Usually these will be an .exe file somewhere in the Programs Files or Program Files (x86)
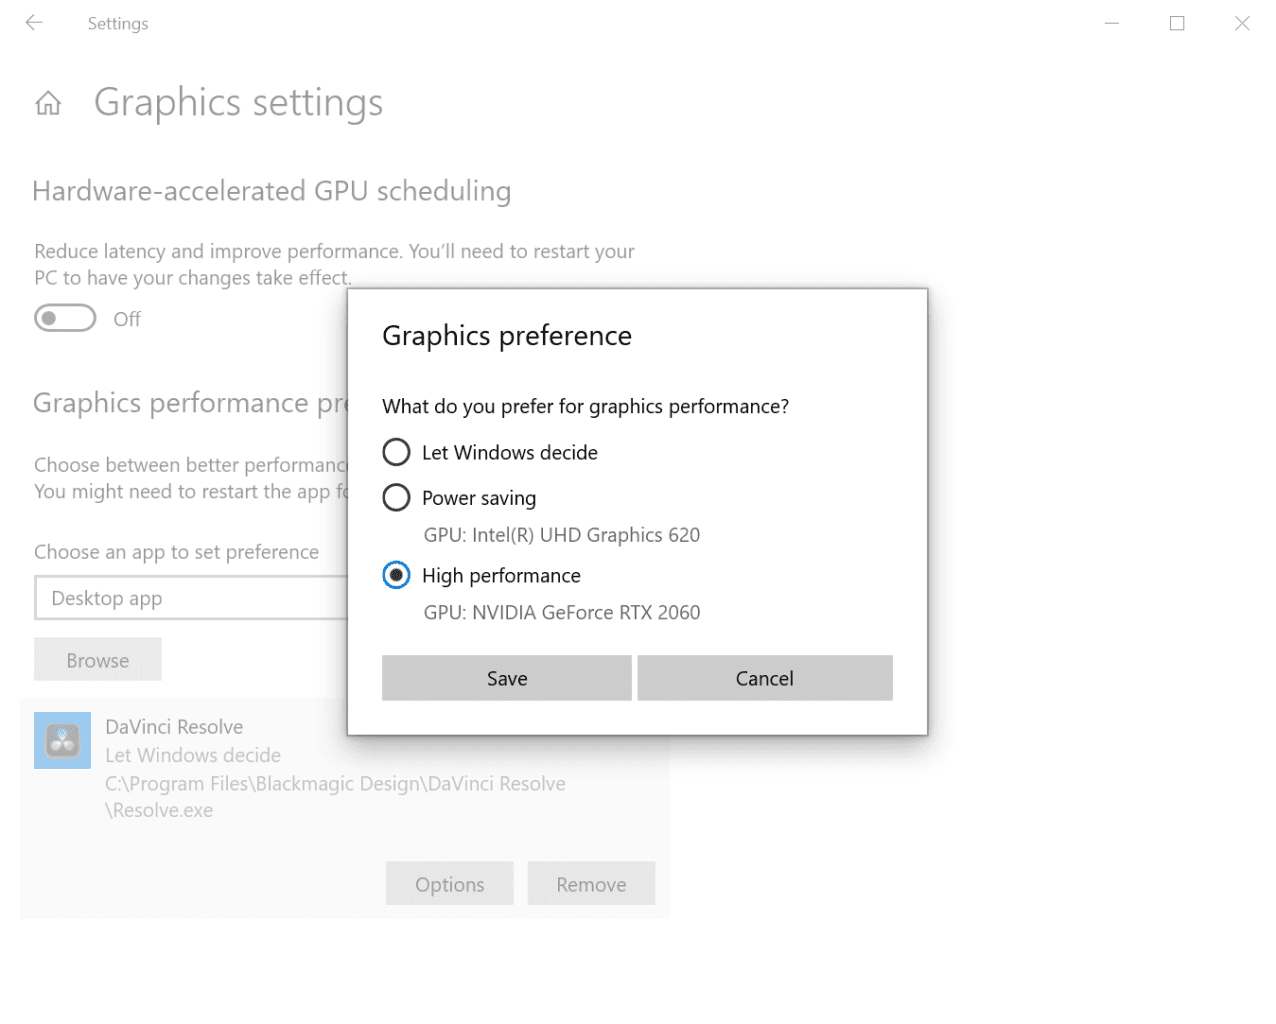
- Once you’ve added an app, click Options.
- The default setting is always Let Windows decide. If you want to select a GPU manually, then Power saving uses the integrated graphics chip and High performance uses your discrete GPU. Select your preference for the app and click Save.
- To delete an app from the list, just click Remove.
And that is it. Now Windows will use your preferred graphics performance option for apps in the list. You might need to restart any open apps for the new setting to take effect.