


Activating God Mode in Windows 10

Customizing Windows’ appearance is a task we’ve been since the early days of Windows 95. Microsoft’s customizing tools were traditionally located in the control panel, which made it a bit easier to find the application that was needed to perform a set of configurations. In addition, there was always the Windows Registry that allowed you to both automate and script most of the configuration tasks, as well as access hundreds of options that were not easily accessible.
Manipulating the registry is something that may cause damage to the operating system and applications installed on it if it’s not performed correctly. That’s why most users prefer to stick to the GUI in Windows.
In Windows 8 and 10, Microsoft made things more complicated by splitting the configuration tasks between traditional apps and modern apps, which were built with touch input in mind. This caused many configuration settings to be split between a traditional and modern application. You had to make one change in one application, but not the other, which led to confusing users. For example, setting the screen resolution was done from a modern app, but setting the screen saver had to be done from a regular app, and these weren’t easily located in the same place.
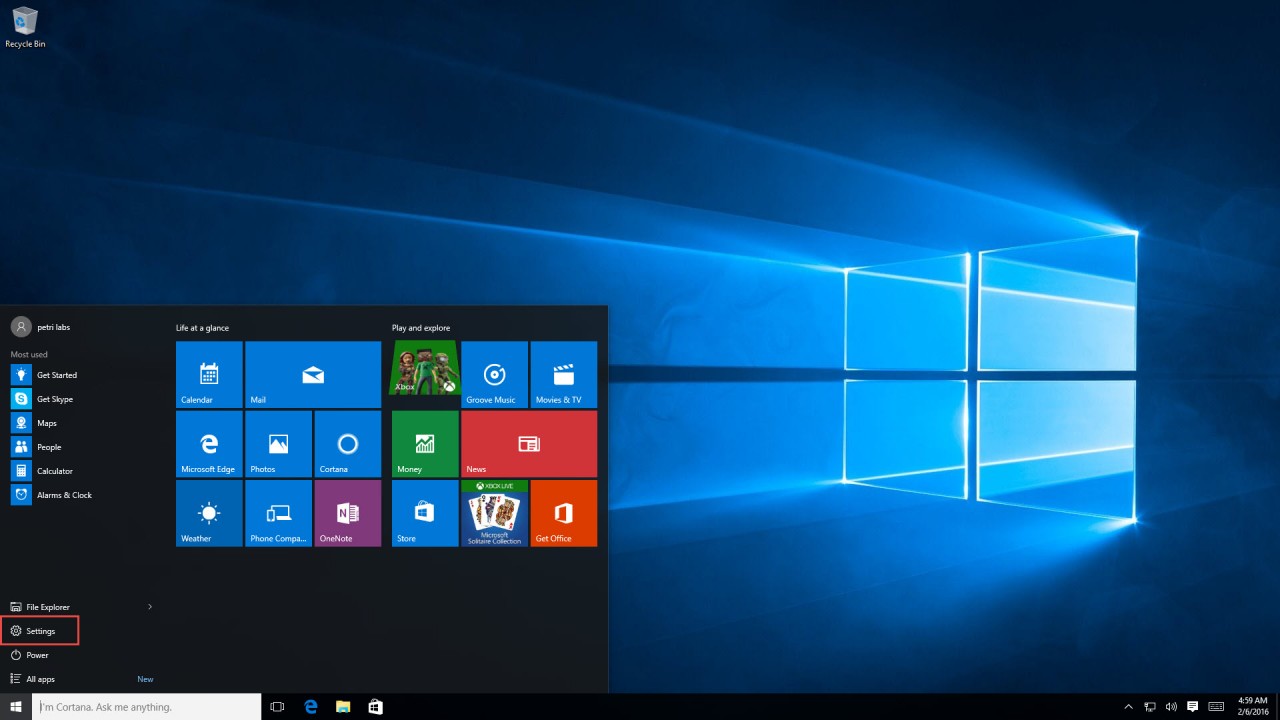
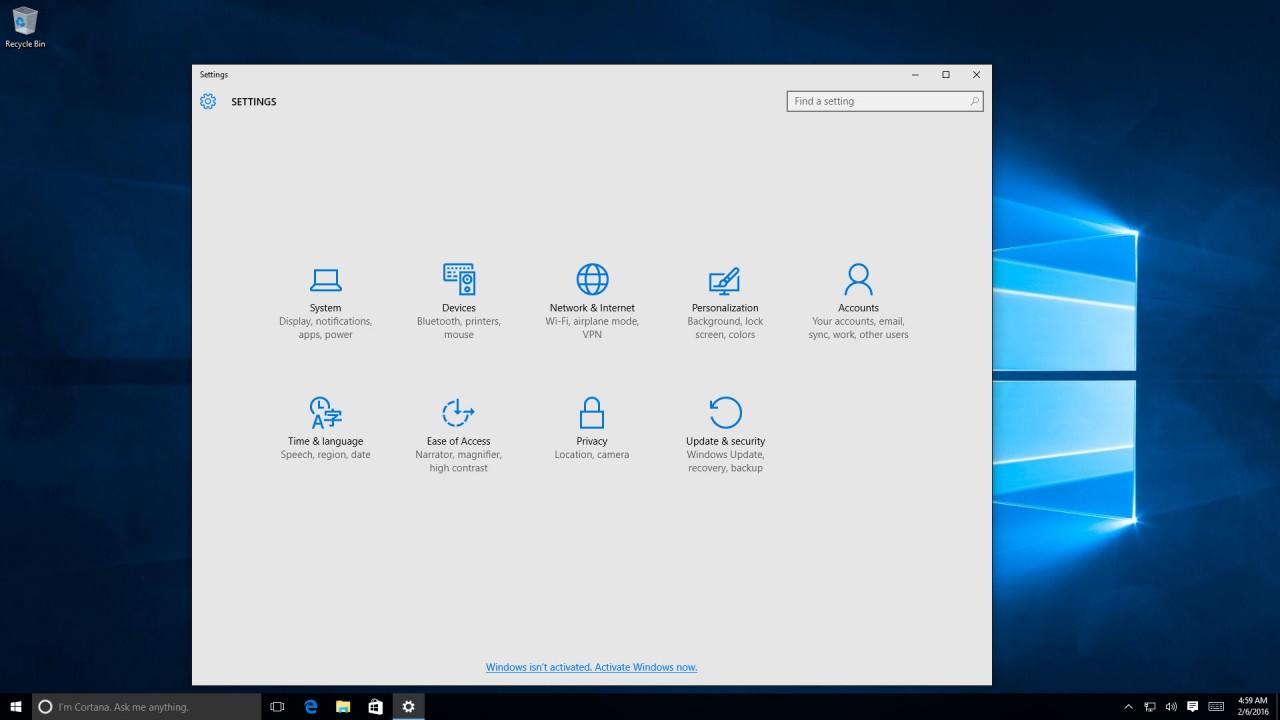
Although Windows 10 tried to make configuration a bit easier, it did remove the original control panel from the Start menu UI. Instead, Windows 10 now includes a Settings interface, which is the control panel’s modern reincarnation.
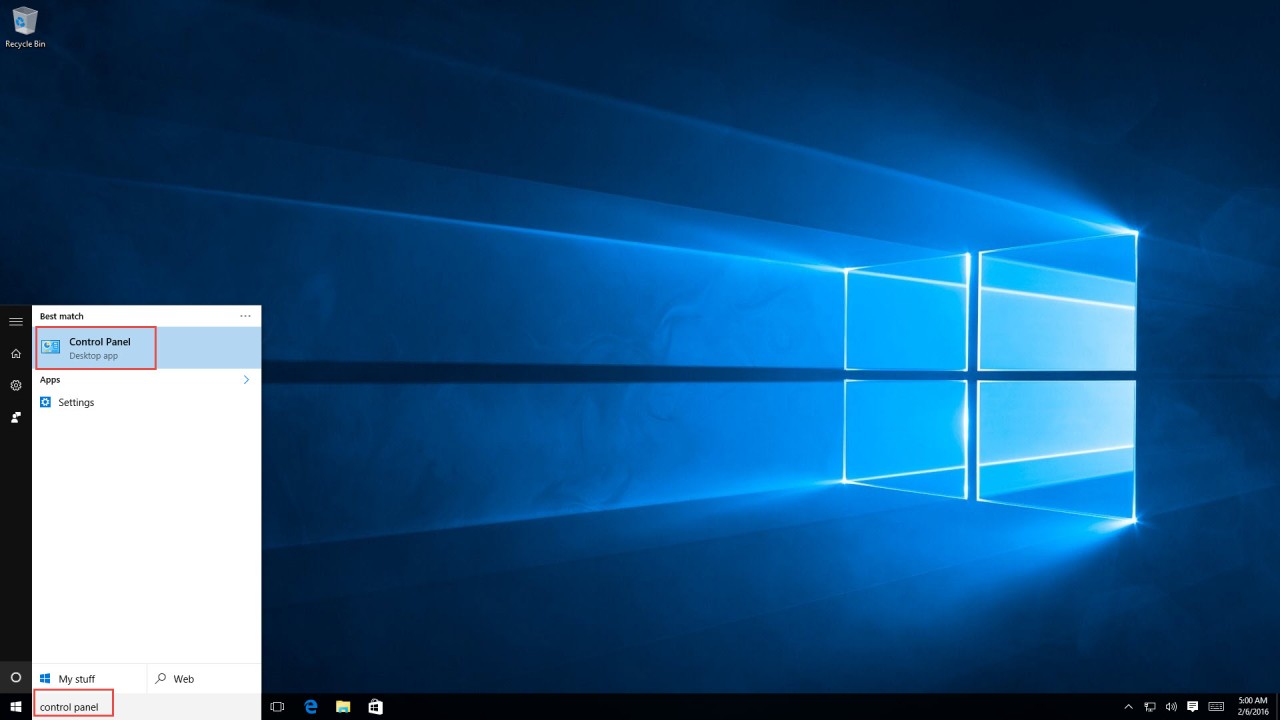
But if you search for the control panel in the Start menu, you’ll see it populate in the search results.
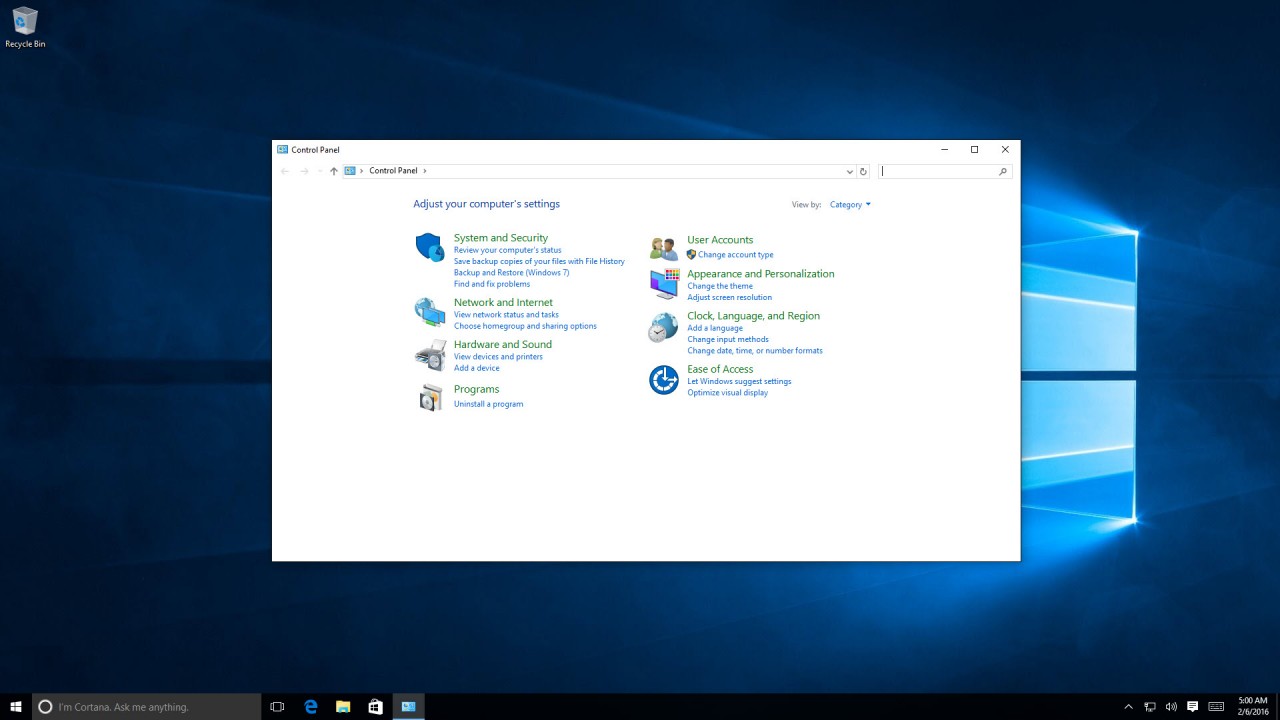
So do you use the new settings panel or the old control panel? Where can you find a setting you’ve been looking for?
This brings back one nice and cool feature that was hidden from most users, which puts all settings and configuration options in one convenient place. It is appropriately named “God Mode,” and it’s been available in Windows since Windows Vista.
To add the God Mode option to Windows 10, follow these steps:
1. Right-click any blank space on your desktop.
2. Select New > Folder.
3. Use this text to name the folder:
GodMode.{ED7BA470-8E54-465E-825C-99712043E01C}
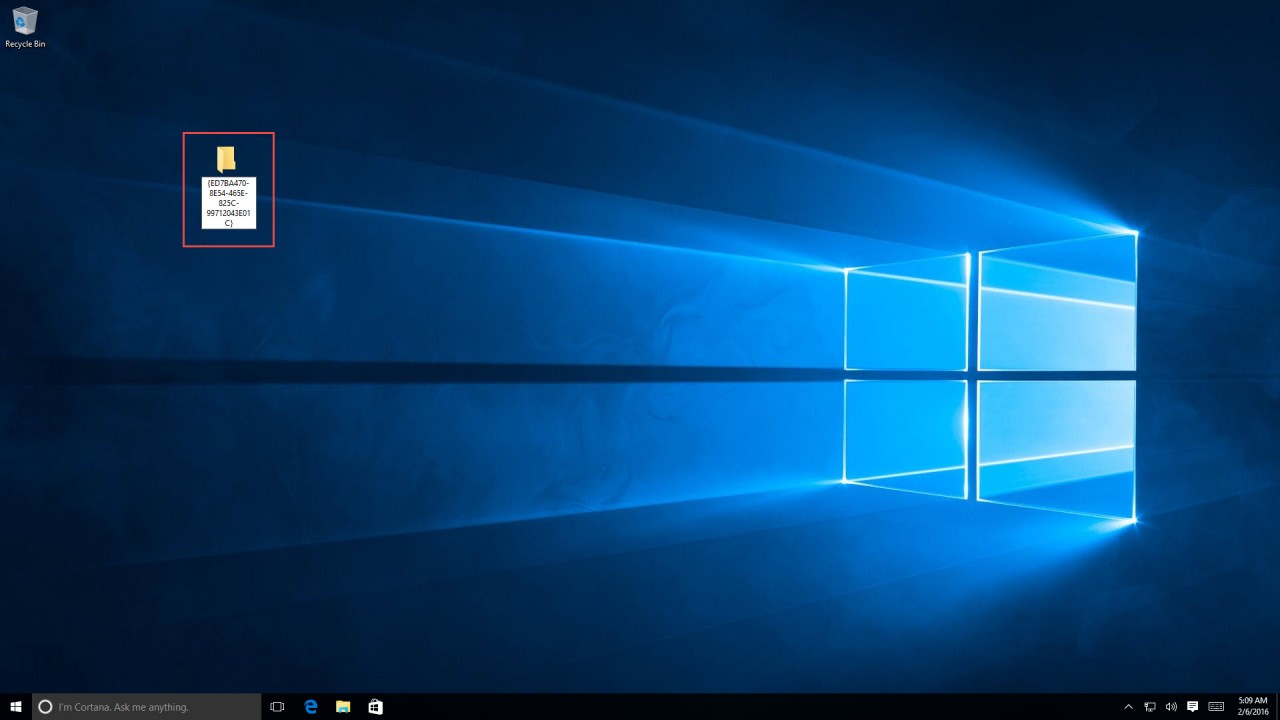
4. Now notice that the folder icon will change from the regular yellow folder icon to a different icon.
Note: Once the initial name is given, you can rename the folder to whatever you want.

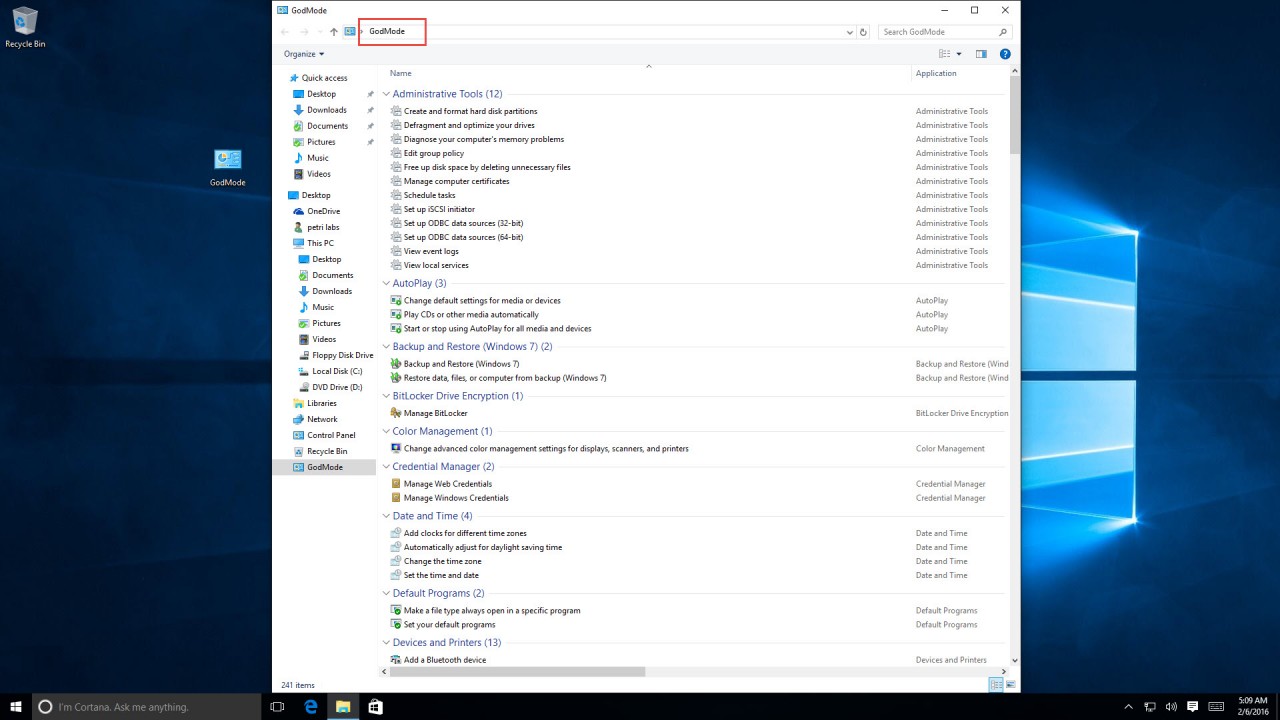
5. Double-clicking the GodMode folder brings up hundreds of options, settings, and tweaks available to you, all located in one folder, easily accessible and allowing you to fully customize the operating system.
Unlike the control panel’s different applications, God Mode lets you see all the hundreds of settings listed in front of you, and you don’t need to dig down layers of tabs just to find what you’re looking for.
Also note that these options can also be accessible from a Group Policy Editor window. The difference is that using the Group Policy Editor allows you to lock these settings on the operating system. If you’re using it in an Active Directory environment, Group Policies can be used to configure these settings on many computers at the same time, offering a central point of management.