


Introduction to Windows 7 Service Pack 1 BETA and an Installation Walkthrough
Microsoft has recently announced that the BETA release for Windows 7 Service Pack 1 for IT professionals and enthusiasts that want to sign up for the public program.
You can register for the Service Pack 1 Beta, which will allow you to receive information and updates on new builds and beta expiration dates. Registration is not mandatory and you can opt out of registration and simply download the bit.
This article will review some of the information with respect to the BETA release and offer an installation walkthrough.
Requirements for the BETA release of Service Pack 1
The system requirements for Service Pack BETA release for Windows 7 are:
- 1 GHz or faster 32-bit (x86) or 64-bit (x64) processor
- 1 GB of RAM (32-bit systems)
- 2 GB RAM (64-bit systems)
- 16 GB available disk space (32-bit systems)
- 20 GB available disk space (64-bit systems)
- DirectX 9 graphics processor with WDDM 1.0 or higher driver
- DVD-compatible drive
- Internet access
The BETA release is available for the following languages:
- English
- French
- German
- Japanese
- Spanish
There are additional prerequisites for the installation of the Windows 7 SP1 BETA.
You will need to be running the Release to Manufacturing (RTM) version of Windows 7 or Windows Server 2008 R2 (build 7600).
If you are getting your updates through Windows Update/WSUS you must install the Servicing Stack Update (SSU) that handles the installation and removal of software updates, language packs, and optional Windows features. This update is necessary to successfully install or uninstall the service pack. This update is part of the standalone update package and will be offered as a separate package on Windows Update.
[NOTES FROM THE FIELD] – The bits for the Windows 7 Service Pack 1 BETA release are the same ones used for Windows Server 2008 R2. This same BETA will be able to be deployed on Windows Server 2008 R2 installations.
Changes for Windows 7 systems
The BETA release of Service Pack 1 offers these specific changes for Windows 7 clients:
Additional support for communication with third-party federation services has been added to allow Windows 7 clients to communicate with third-party identity federation services that support the WS-Federation passive profile protocol. This support change enhances platform interoperability, and improves the ability to communicate identity and authentication information between organizations.
Updates have been incorporated into the Service Pack 1 BETA to ensure that connections between Windows 7 computers and HDMI audio devices are consistently maintained. In certain scenarios, some users have reported issues after system reboots with their connections between computers running Windows 7 and their HDMI audio devices. The issues that have been reviewed have been addressed as part of the changes introduced with the BETA release.
There were also some issues discovered with respect to printing mixed-orientation XPS documents (where the document contained both portrait and landscape orientation). In certain scenarios, this would result in all pages being printed entirely in either portrait or landscape mode. This issue has been addressed in the Service Pack 1 BETA.
[NOTES FROM THE FIELD] – There are some specific changes made to just Windows Server 2008 R2 systems but detailing these is beyond the scope of this article.
There are three additional major changes that the service pack provides for both Windows 7 and Windows Server 2008 R2 systems.
One of the changes is the change to behavior of “Restore previous folders at logon” functionality that is introduced with the BETA installation. Service Pack 1 changes the behavior of the “Restore previous folders at logon” function available in the Folder Options Explorer dialog. On RTM builds, previous folders would be restored in a cascaded position based on the location of the most recently active folder. That behavior changes in SP1 so that all folders are restored to their previous positions.
Support for additional identification types has been added as part of the BETA release to the Identification field in the IKEv2 authentication protocol when using RRAS and IPsec. This allows for a variety of additional forms of identification (such as E-mail ID or Certificate Subject) to be used when performing authentication using the IKEv2 protocol.
The last major change for both Windows 7 systems as well as Server 2008 RS systems as introduced by the Service Pack BETA is support for Advanced Vector Extensions (AVX) which is a 256 bit instruction set extension for processors. AVX is designed to allow for improved performance for applications that are floating point intensive. Support for AVX is a part of SP1 to allow applications to fully utilize the new instruction set and register extensions.
Other points of reference for Service Pack 1 BETA
Microsoft has released some additional details and information regarding the Service Pack 1 BETA which can be found on the Microsoft website as follows:
Windows 7 and Windows Server 2008 R2 Service Pack 1 Beta (KB976932)
Documentation for Windows 7 and Windows Server 2008 R2 Service Pack 1 Beta (KB976932)
The documentation above also includes a spreadsheet of all the Hotfixes and Security Updates included in Windows 7 and Windows Server 2008 R2 Service Pack 1 BETA. This is subject to change upon the release of the final version of the Service Pack.
Additional details regarding the Windows 7 Service Pack 1 Beta and Windows Server 2008 R2 Service Pack 1 Beta can also be found via http://www.microsoft.com/windowsserver2008/en/us/sp1.aspx
Installation walkthrough of Service Pack 1 (BETA) on Windows 7
The installation of the BETA of Service Pack 1 for Windows 7 is pretty straightforward.
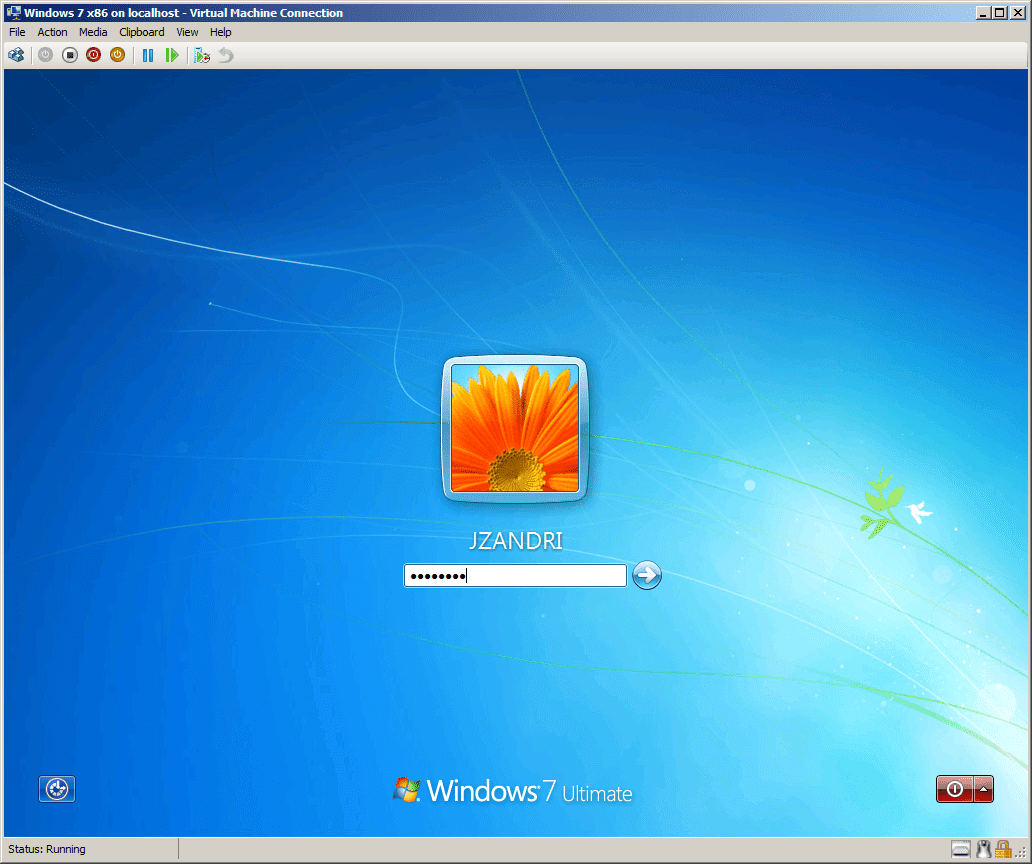
For our walkthrough, I’ll be using a Windows 7 build as shown below within my Hyper-V configuration.

You can kick off the installation by running setup.exe from the AutoPlay menu (depending on how your system is configured and if your system is configured to use AutoPlay) or directly from the root of the DVD.

As you can see below, there are updates provided for x86, ia64 and X64 based installations.

When you execute the setup program you may see the User Account Control dialog box as show below (again, depending on the configuration of you system and how it is set to handle UAC based calls). In order to continue in this situation you would need to choose YES.

The next screen is the welcome screen of the BETA Service Pack installation. If you want additional information and details regarding BETA Service Pack 1 you can select the blue “What you should know before installing Service Pack 1” hyperlink as shown below.

After selecting NEXT on the welcome screen, we arrive at the license terms that we need to accept in order to continue with the installation.

At this point there is a quick preparation performed on the system as shown directly below and then the Install Windows 7 Service Pack 1 screen appears.

You should select the “Automatically restart the computer” checkbox so that the system will reboot on its own as needed.

Once you choose INSTALL, setup will begin the process of installing the service pack to your system. As the information outlines, the system will need to reboot at least once during the process. Our test build in the virtual machine rebooted twice and on the second reboot we needed to log in with valid credentials to continue.

The install can take up to an hour or more depending on your system build and available resources. This virtual machine completed in its entirety in about 30 minutes.


After the final reboot and log on, setup will display that the upgrade to Service Pack 1 was successful and you can also see this on the system properties page.


In this article I introduced the Requirements for the BETA release of Service Pack 1 as well as an outline of some of the changes for Windows 7 systems when the BETA service pack is installed.
I also outlined some additional points of reference for Service Pack 1 BETA and performed a walk through installation of the service pack
Thanks for investing your time in my Installing Windows 7 Service Pack 1 BETA – Introduction to Windows 7 Service Pack 1 BETA and an Installation Walkthrough article.
I am always looking forward to any feedback you have on this or any of the articles I have written so feel free to offer your input.
Additionally, I would welcome any suggestions topics of interest that you would like to see and based on demand and column space I’ll do what I can to deliver them to you.